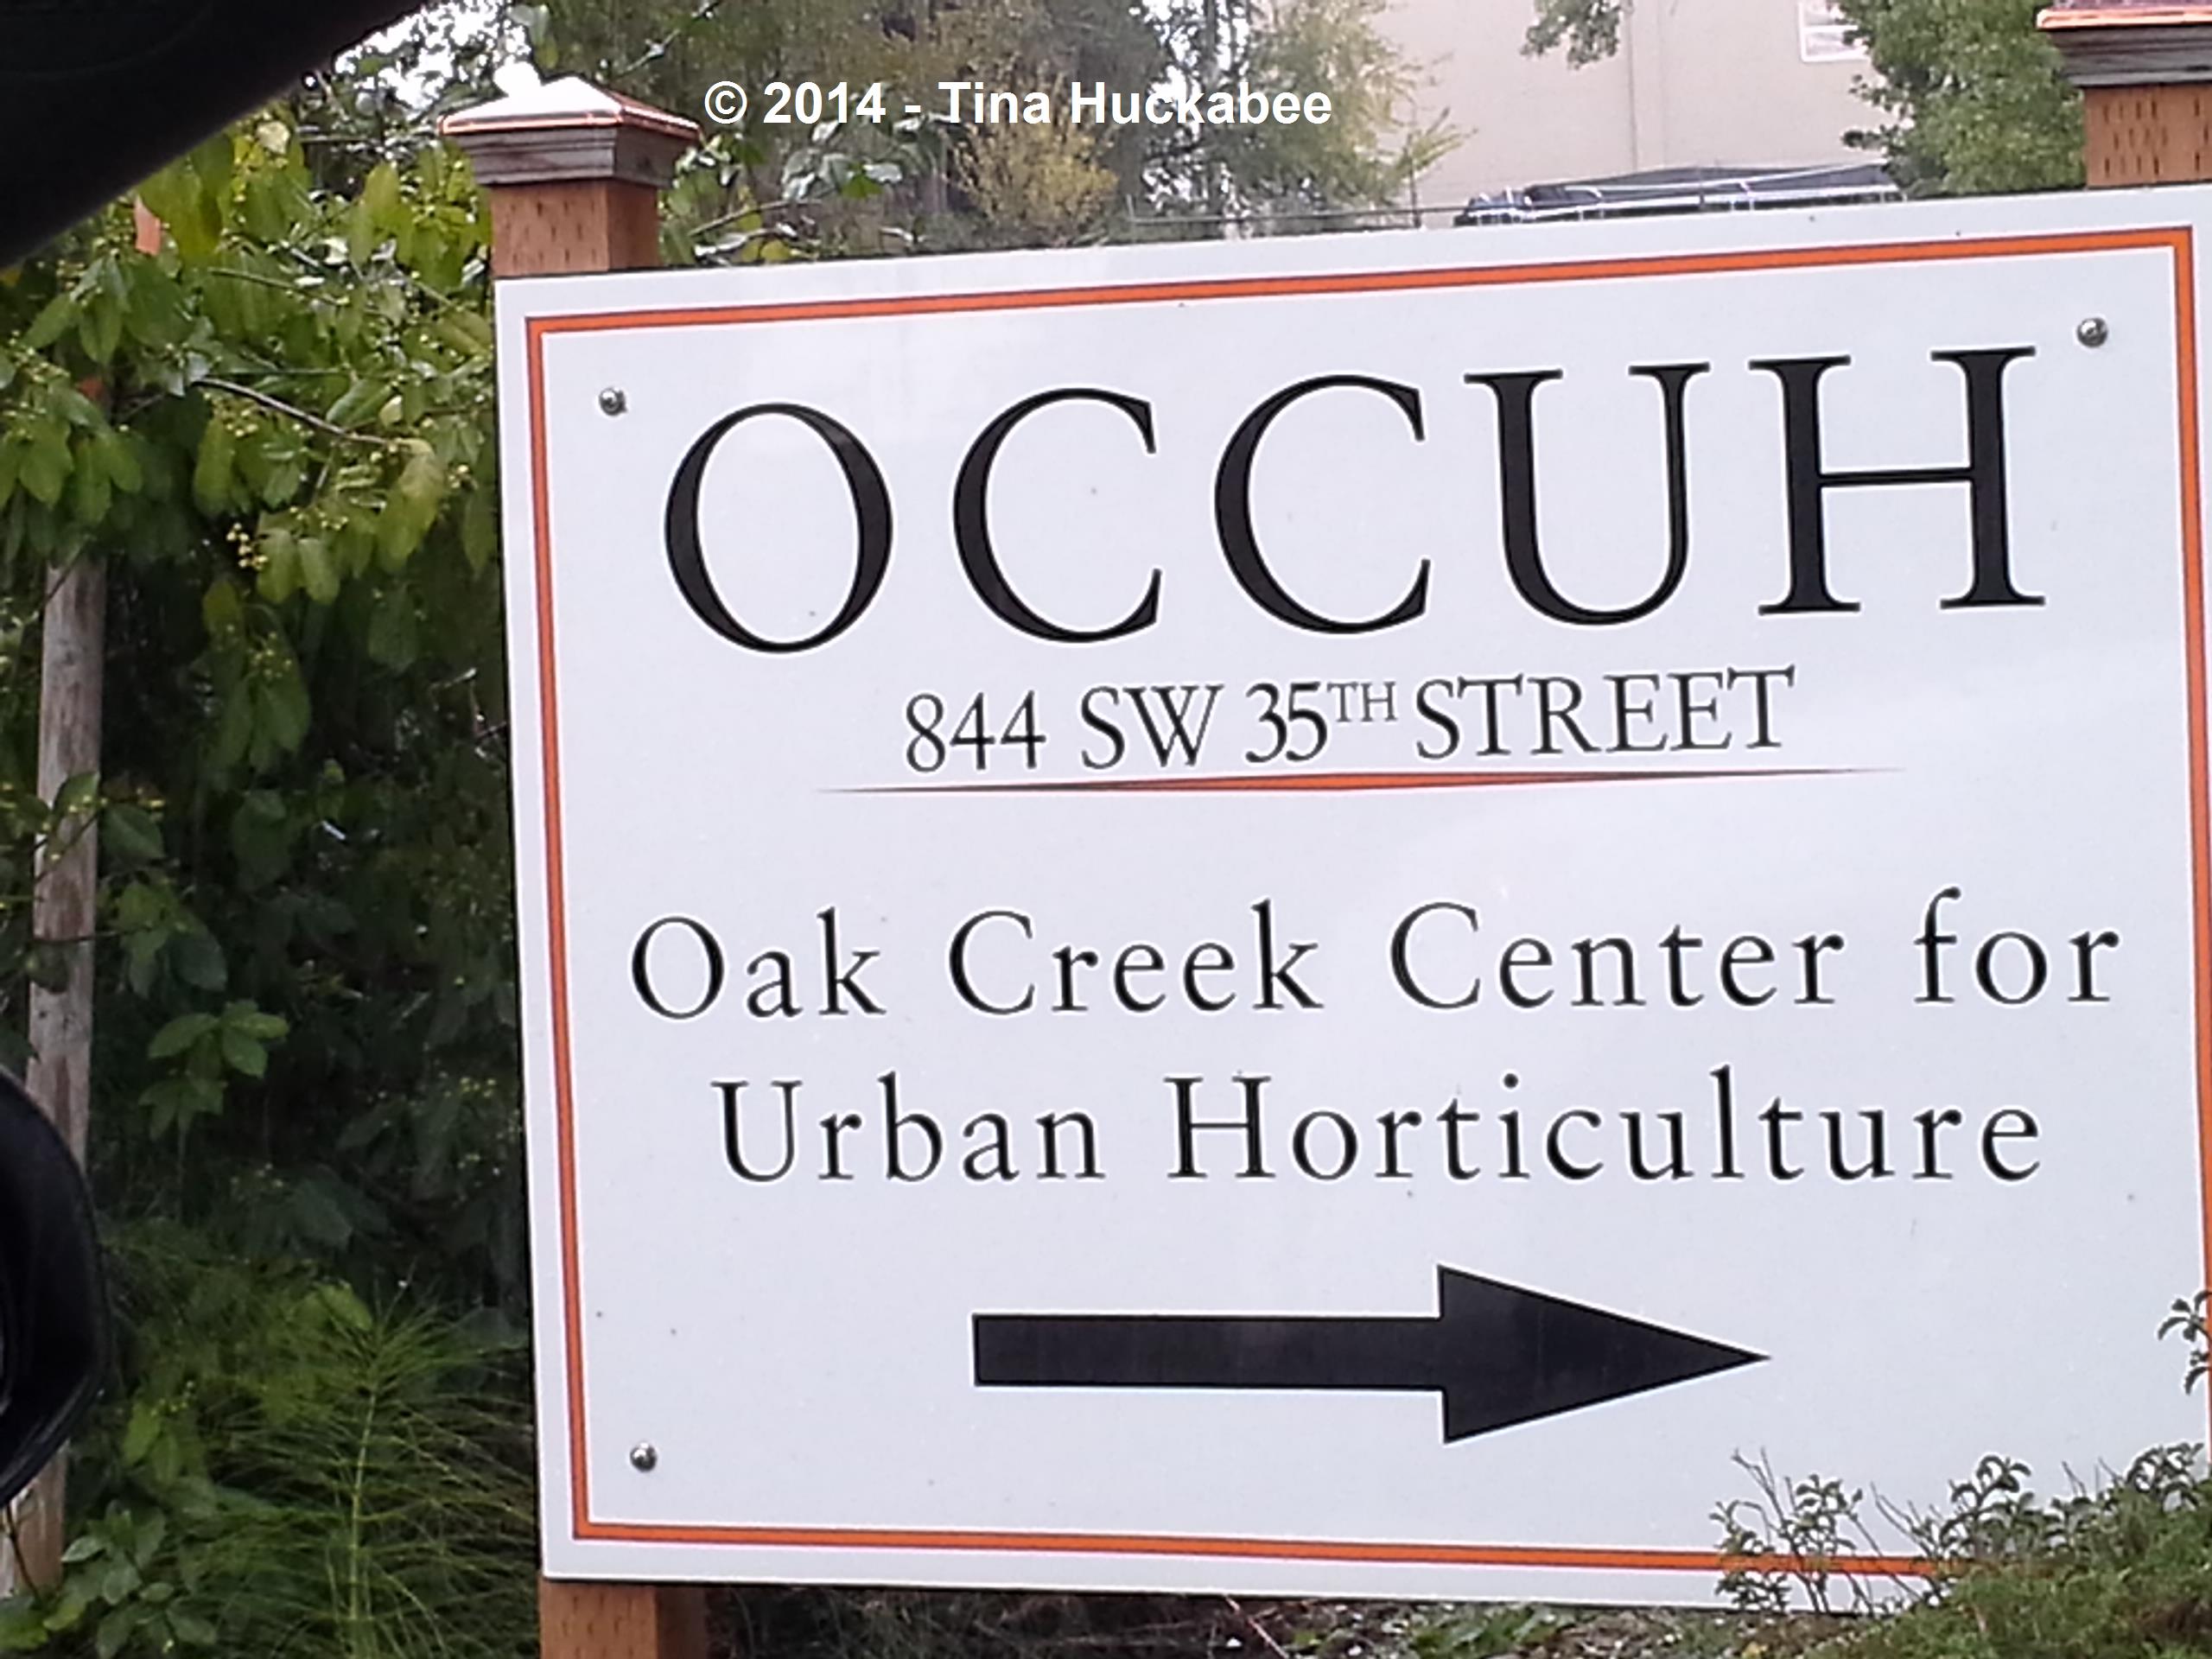
On a trip to Oregon last fall, my good friend, Dr. Linda Hardison who is the director of the Oregon Flora Project took us to visit Oregon State University’s Oak Creek Center for Urban Horticulture.

A wonderful place to visit and with so many interesting things to see, one of the more impressive was The Green Tower.


The G.T. is a vertical gardening tower, primarily for vegetable and herb gardening. In viewing this magnificent monstrosity, I realized that it could be the answer to my veggie dilemma back home in Austin. I have only a few spots on my property that receive full sun, year round. My real gardening love is native plants and wildlife gardening, so that type of gardening is my priority. But I do love fresh veggies, so if I can limit the square footage of veggie gardening space, yet still produce veggies year round in that smaller space, gardening vertically is my answer.
In designing our own Green Tower, my husband and I used the basic information from the OCCUH website. (See photo above.) Unfortunately, that YouTube video is no longer available, but you can view this one: http://www.youtube.com/watch?v=RYvFfQByK4U The video was helpful in a general, rather than specific way–we redesigned our tower because we don’t need one as large as is demonstrated. Still, the idea is innovative and it was an excellent start to our Green Tower adventure.
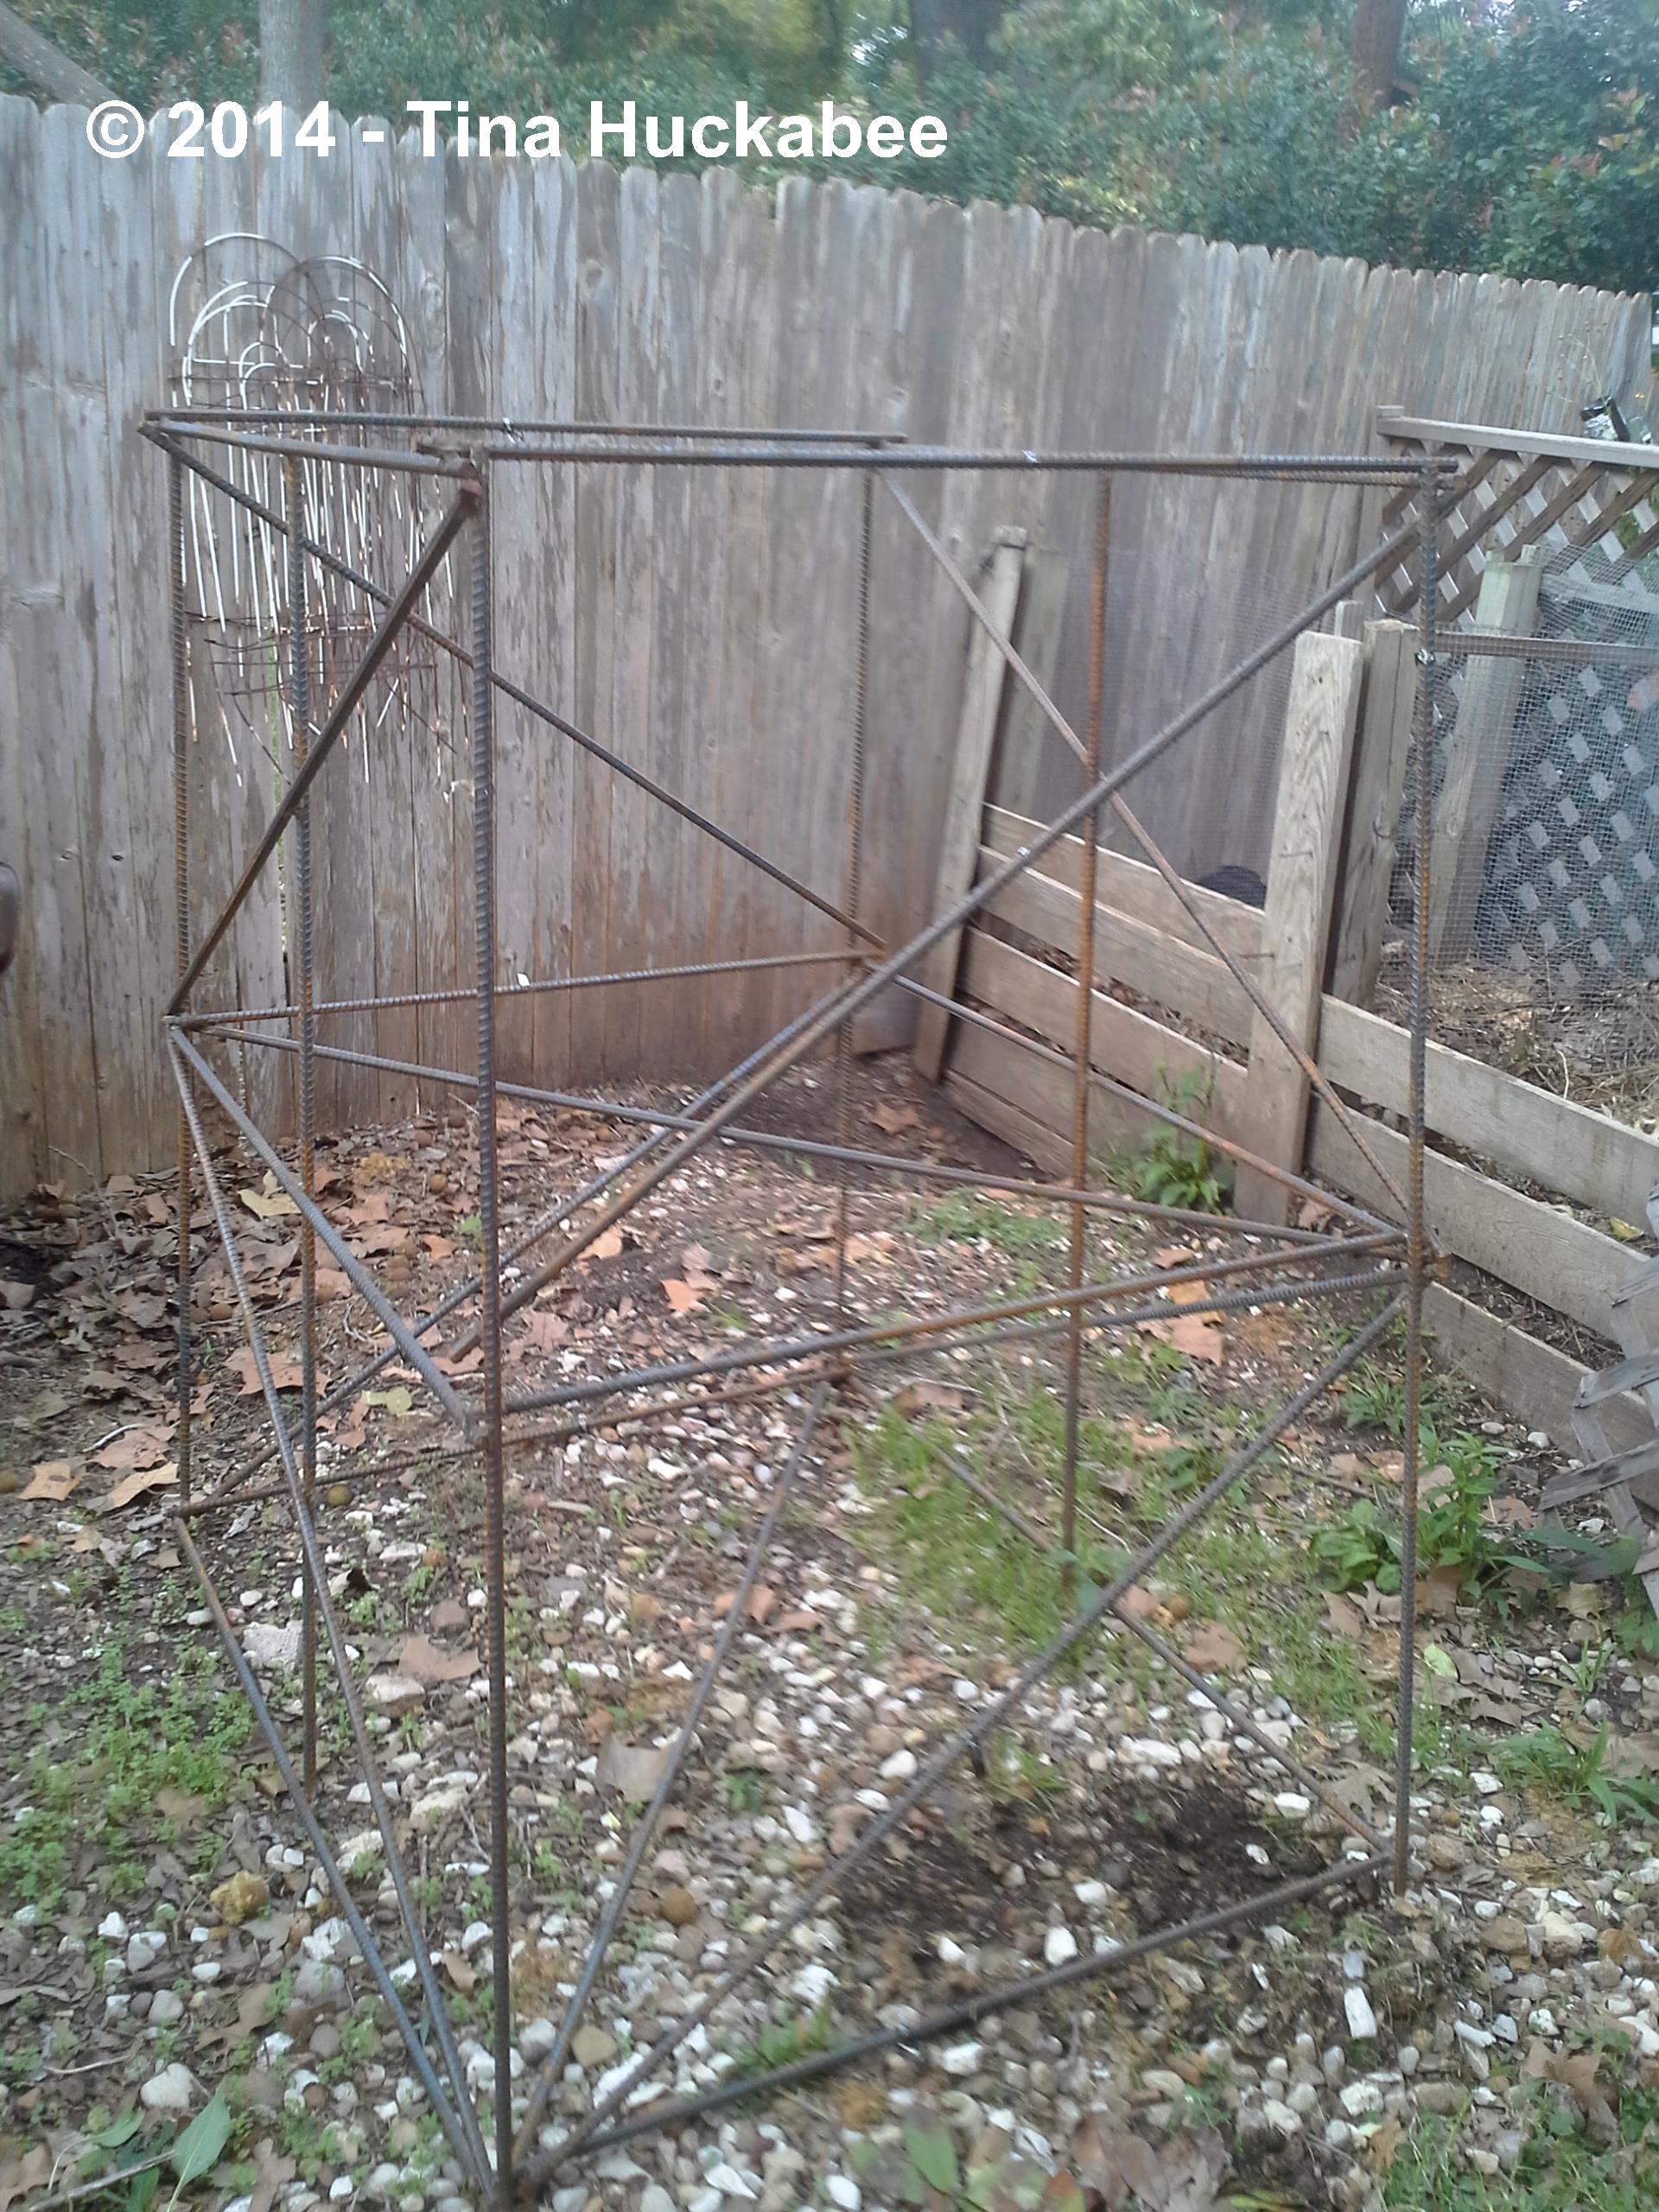
We reconfigured size dimensions, appropriate for the amount of vegetables/herbs that we want to produce. OSU’s Green Tower is a bit larger and wider than our 4.5′ tall and 4’x3′ footprint tower. The Husband bought, cut and wired together metal rebar pieces. We then hired a welder to weld together the frame.

We dug the frame into the ground for additional stability, making sure the G.T. was level.


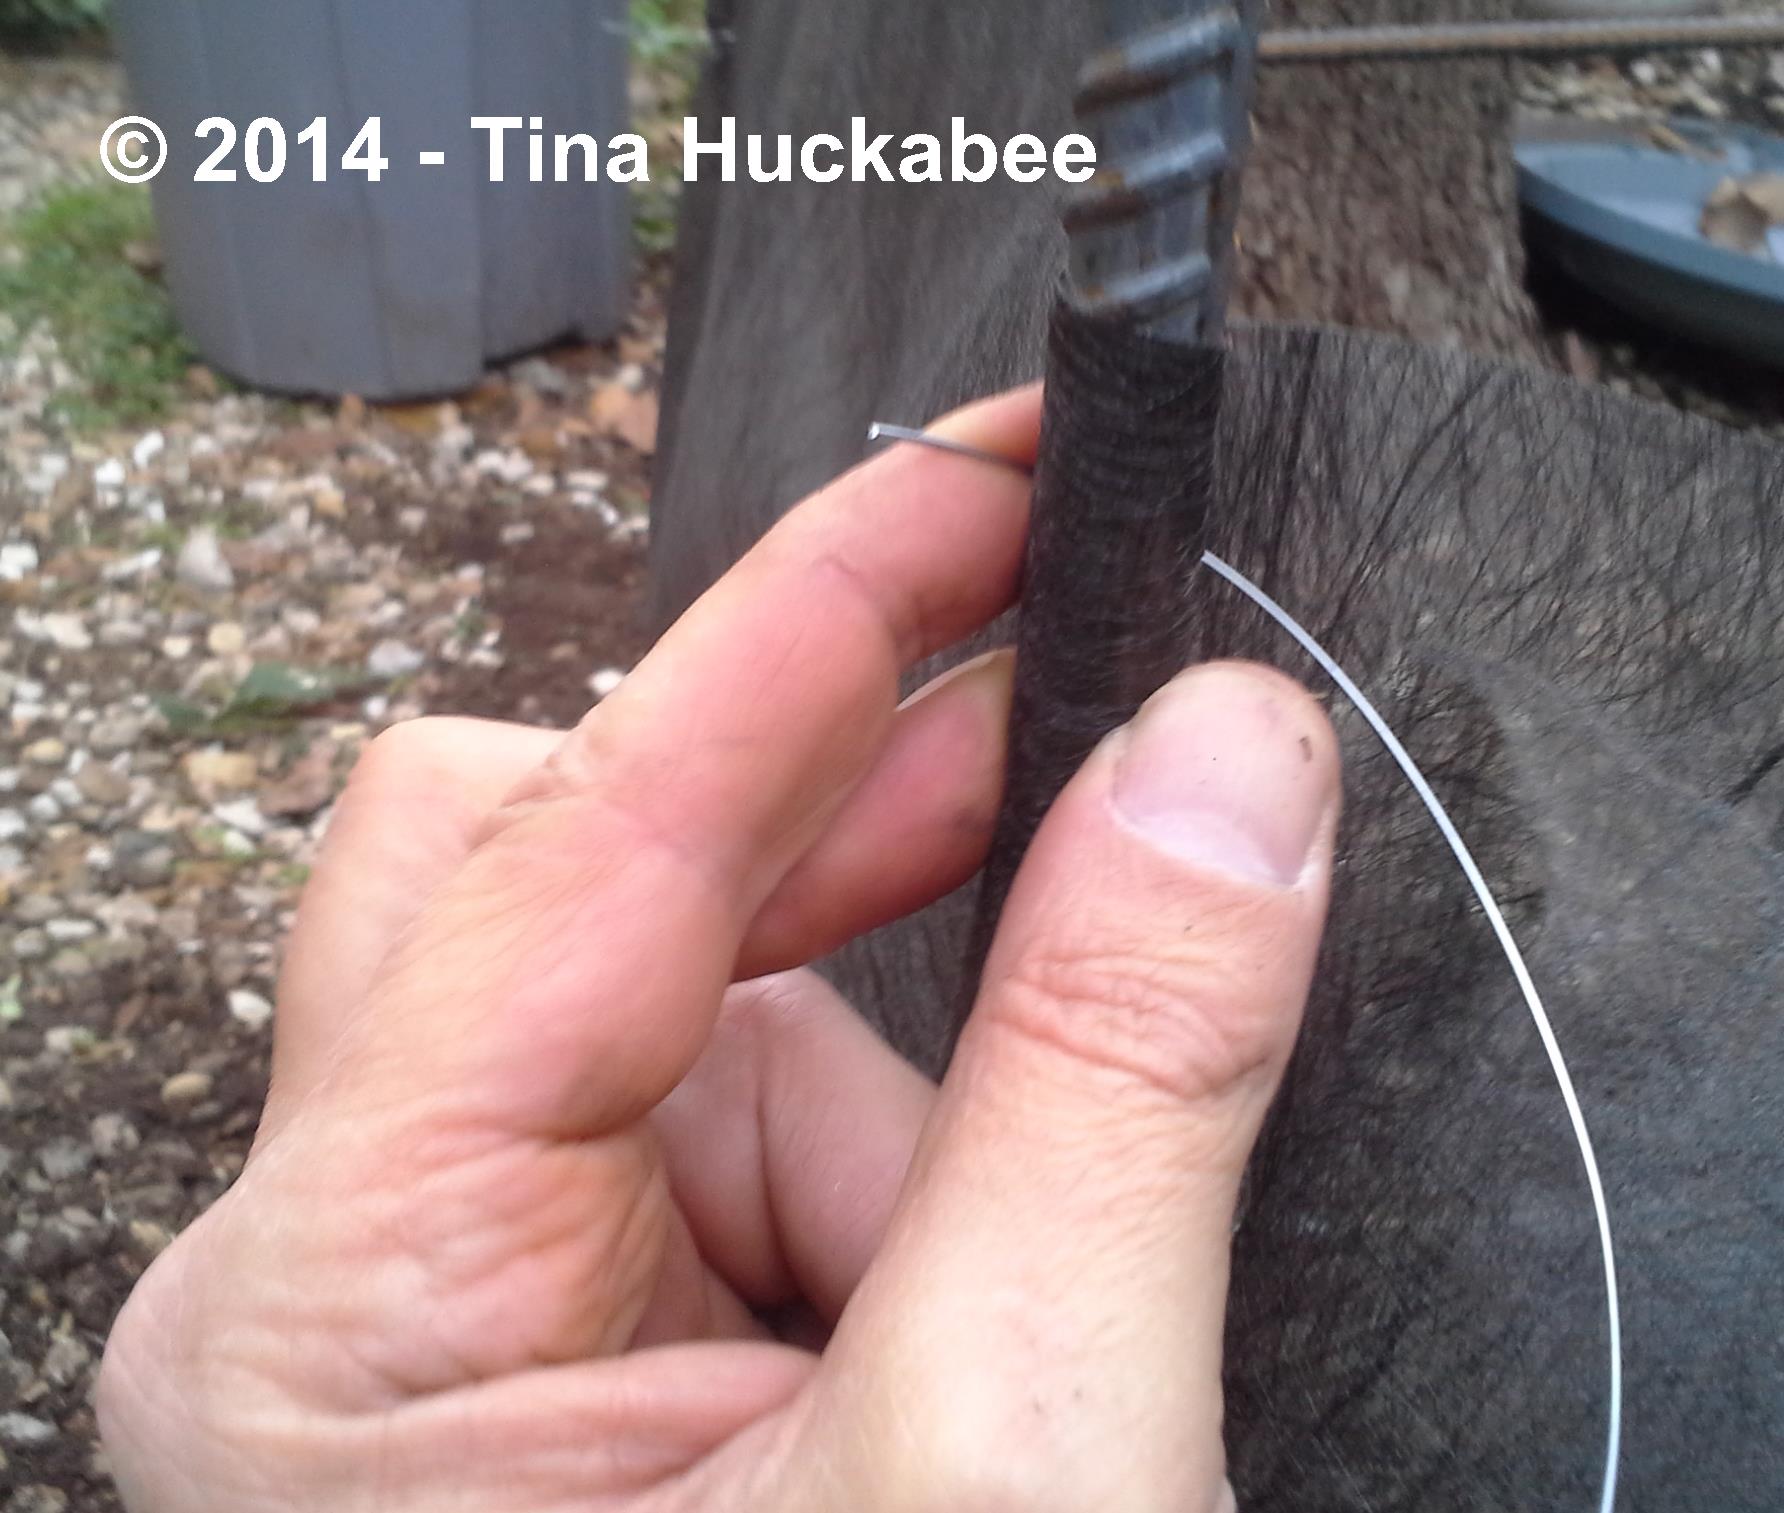
We wrapped landscape fabric and wired it to the frame.


To tighten the wire, we used pliers.

The extra ends of the wire are clipped, then turned inward, so that the ends won’t scratch working hands. I still get scratched and poked, so attention to those sharp ends is advised.

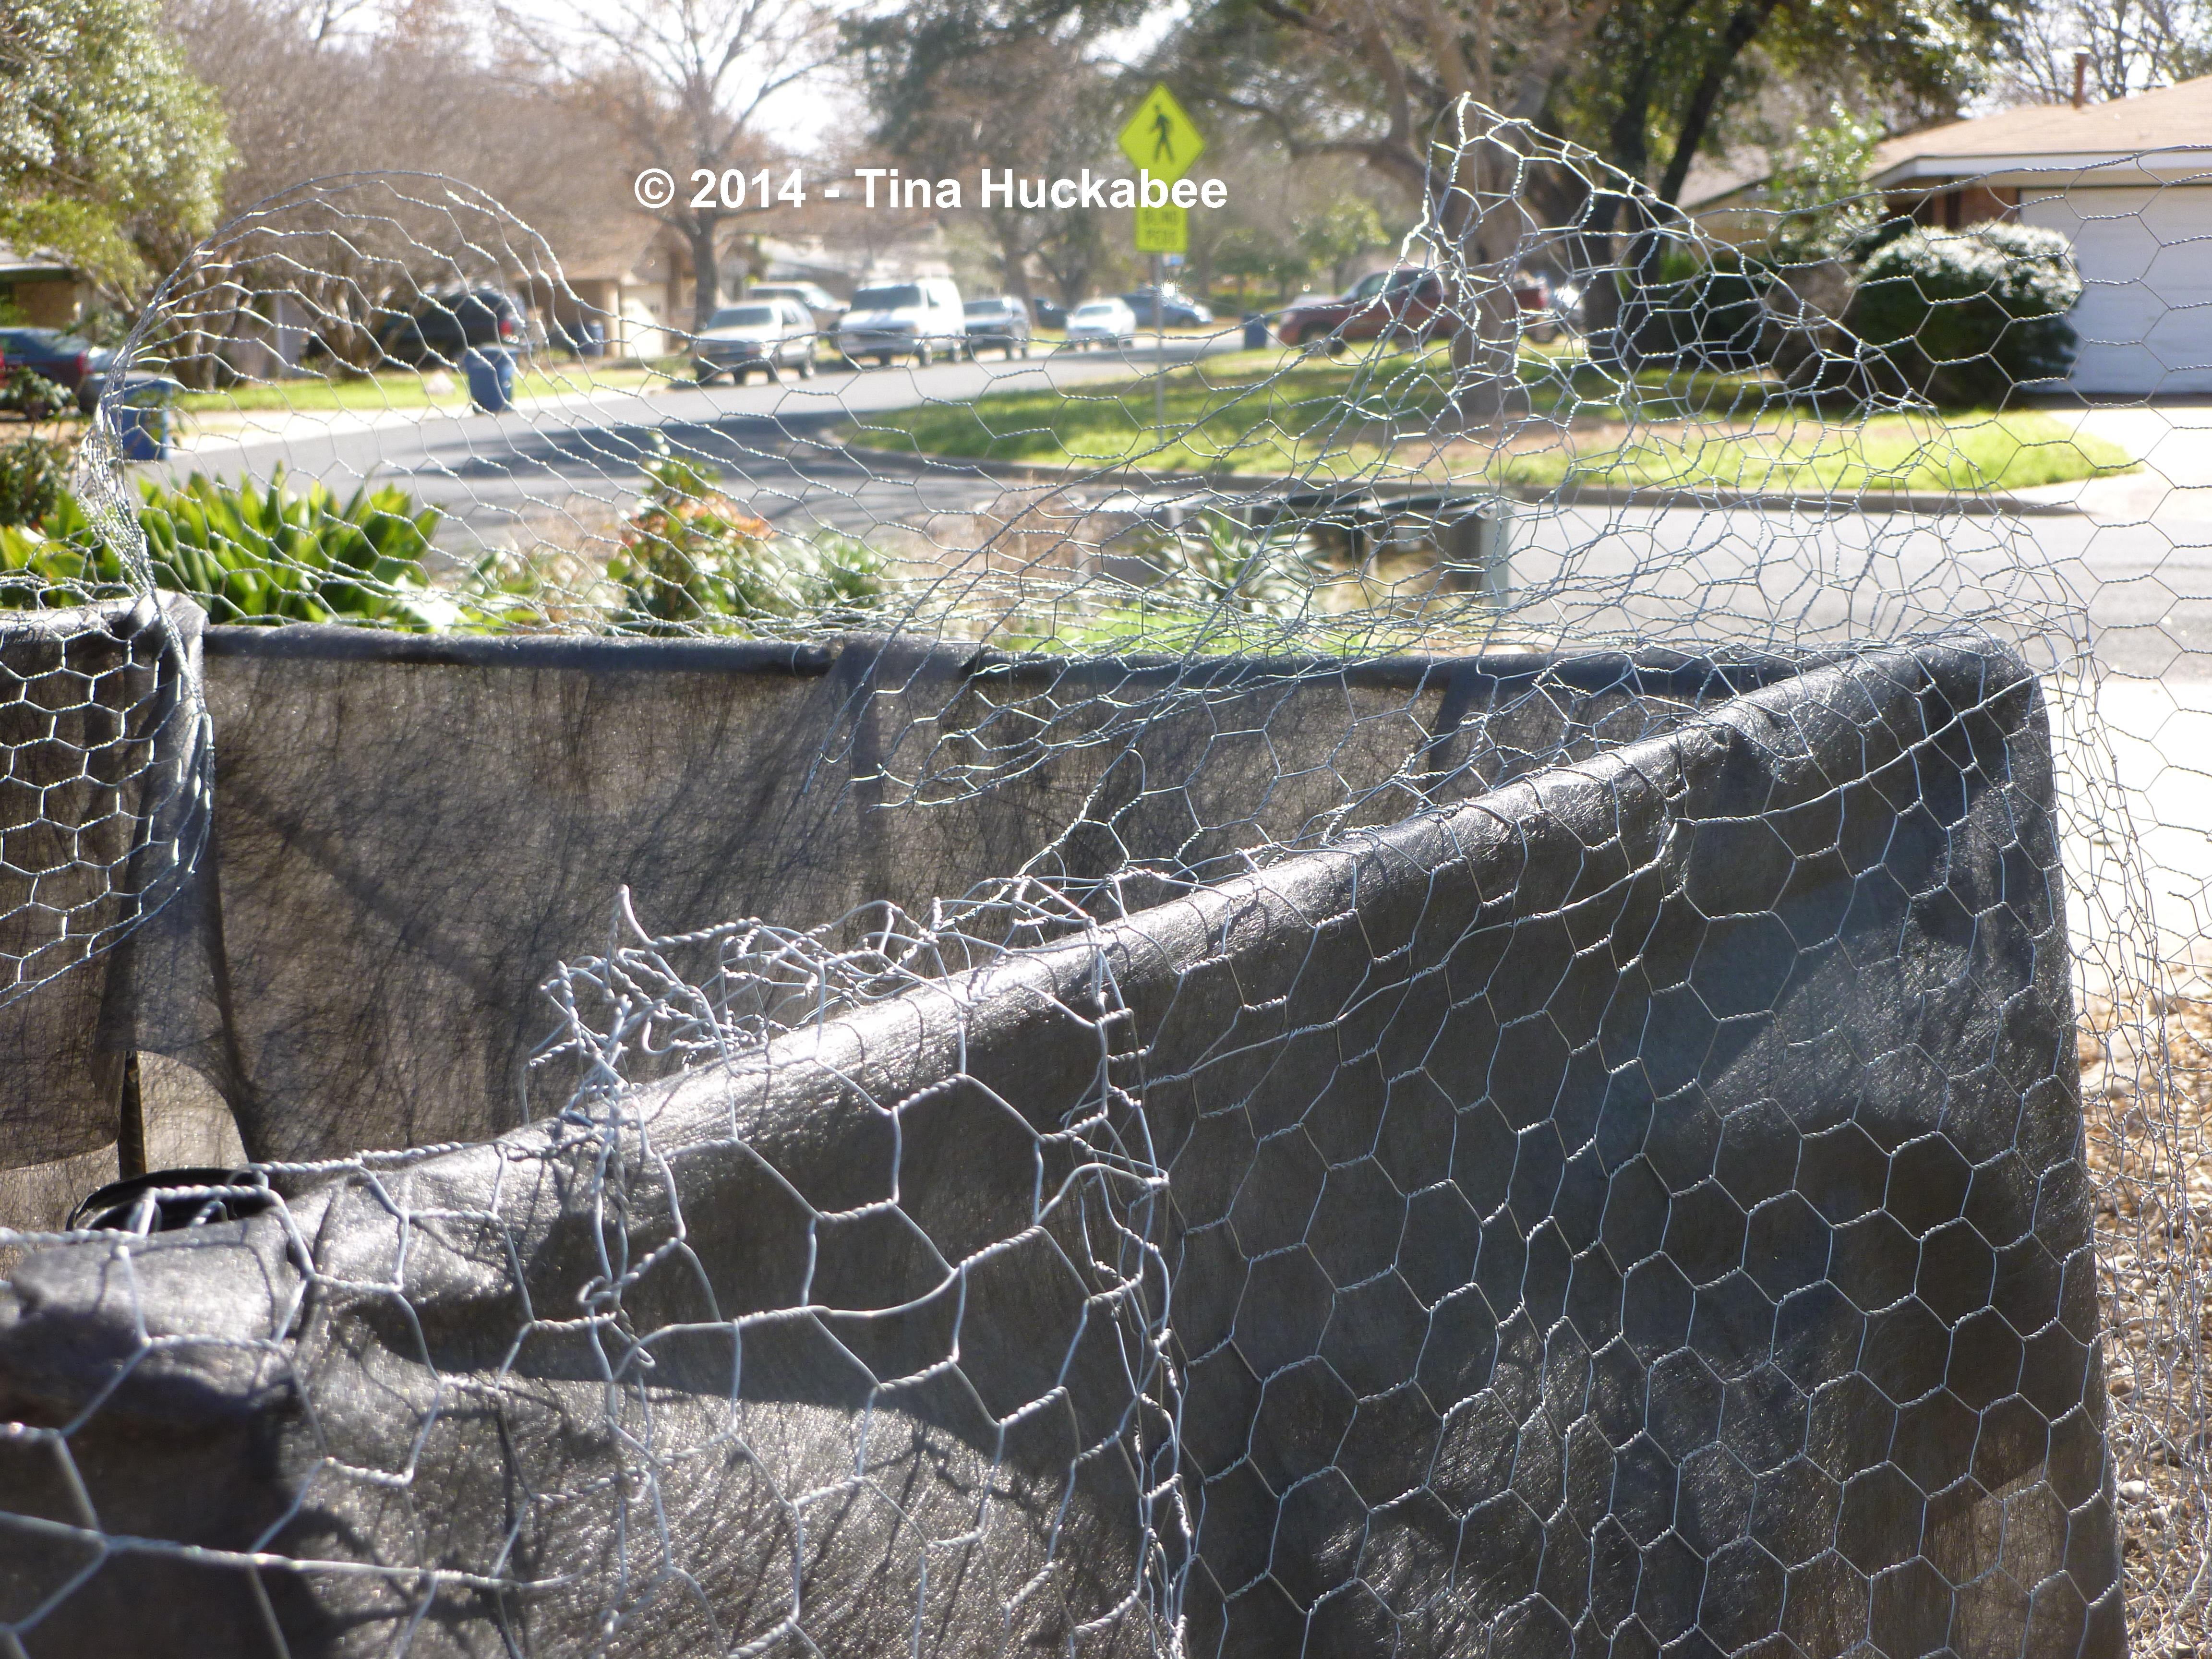
We did the same with chicken wire–wrapped it around the frame and wired it through the landscape fabric and to the frame. Because the frame is larger at its base (4’X3′) than at its top ( 3’X3′). some folding of the landscape fabric and crimping of the chicken wire is necessary to fit well around the frame.

Inside the G.T. we placed a tube for aeration and watering.

Before completing the G.T., we moved it to a different spot on our property. I finished wrapping the landscape fabric and chicken wire–more crimping and folding and not advisable to do a windy day!


The supervisor in the background approves!
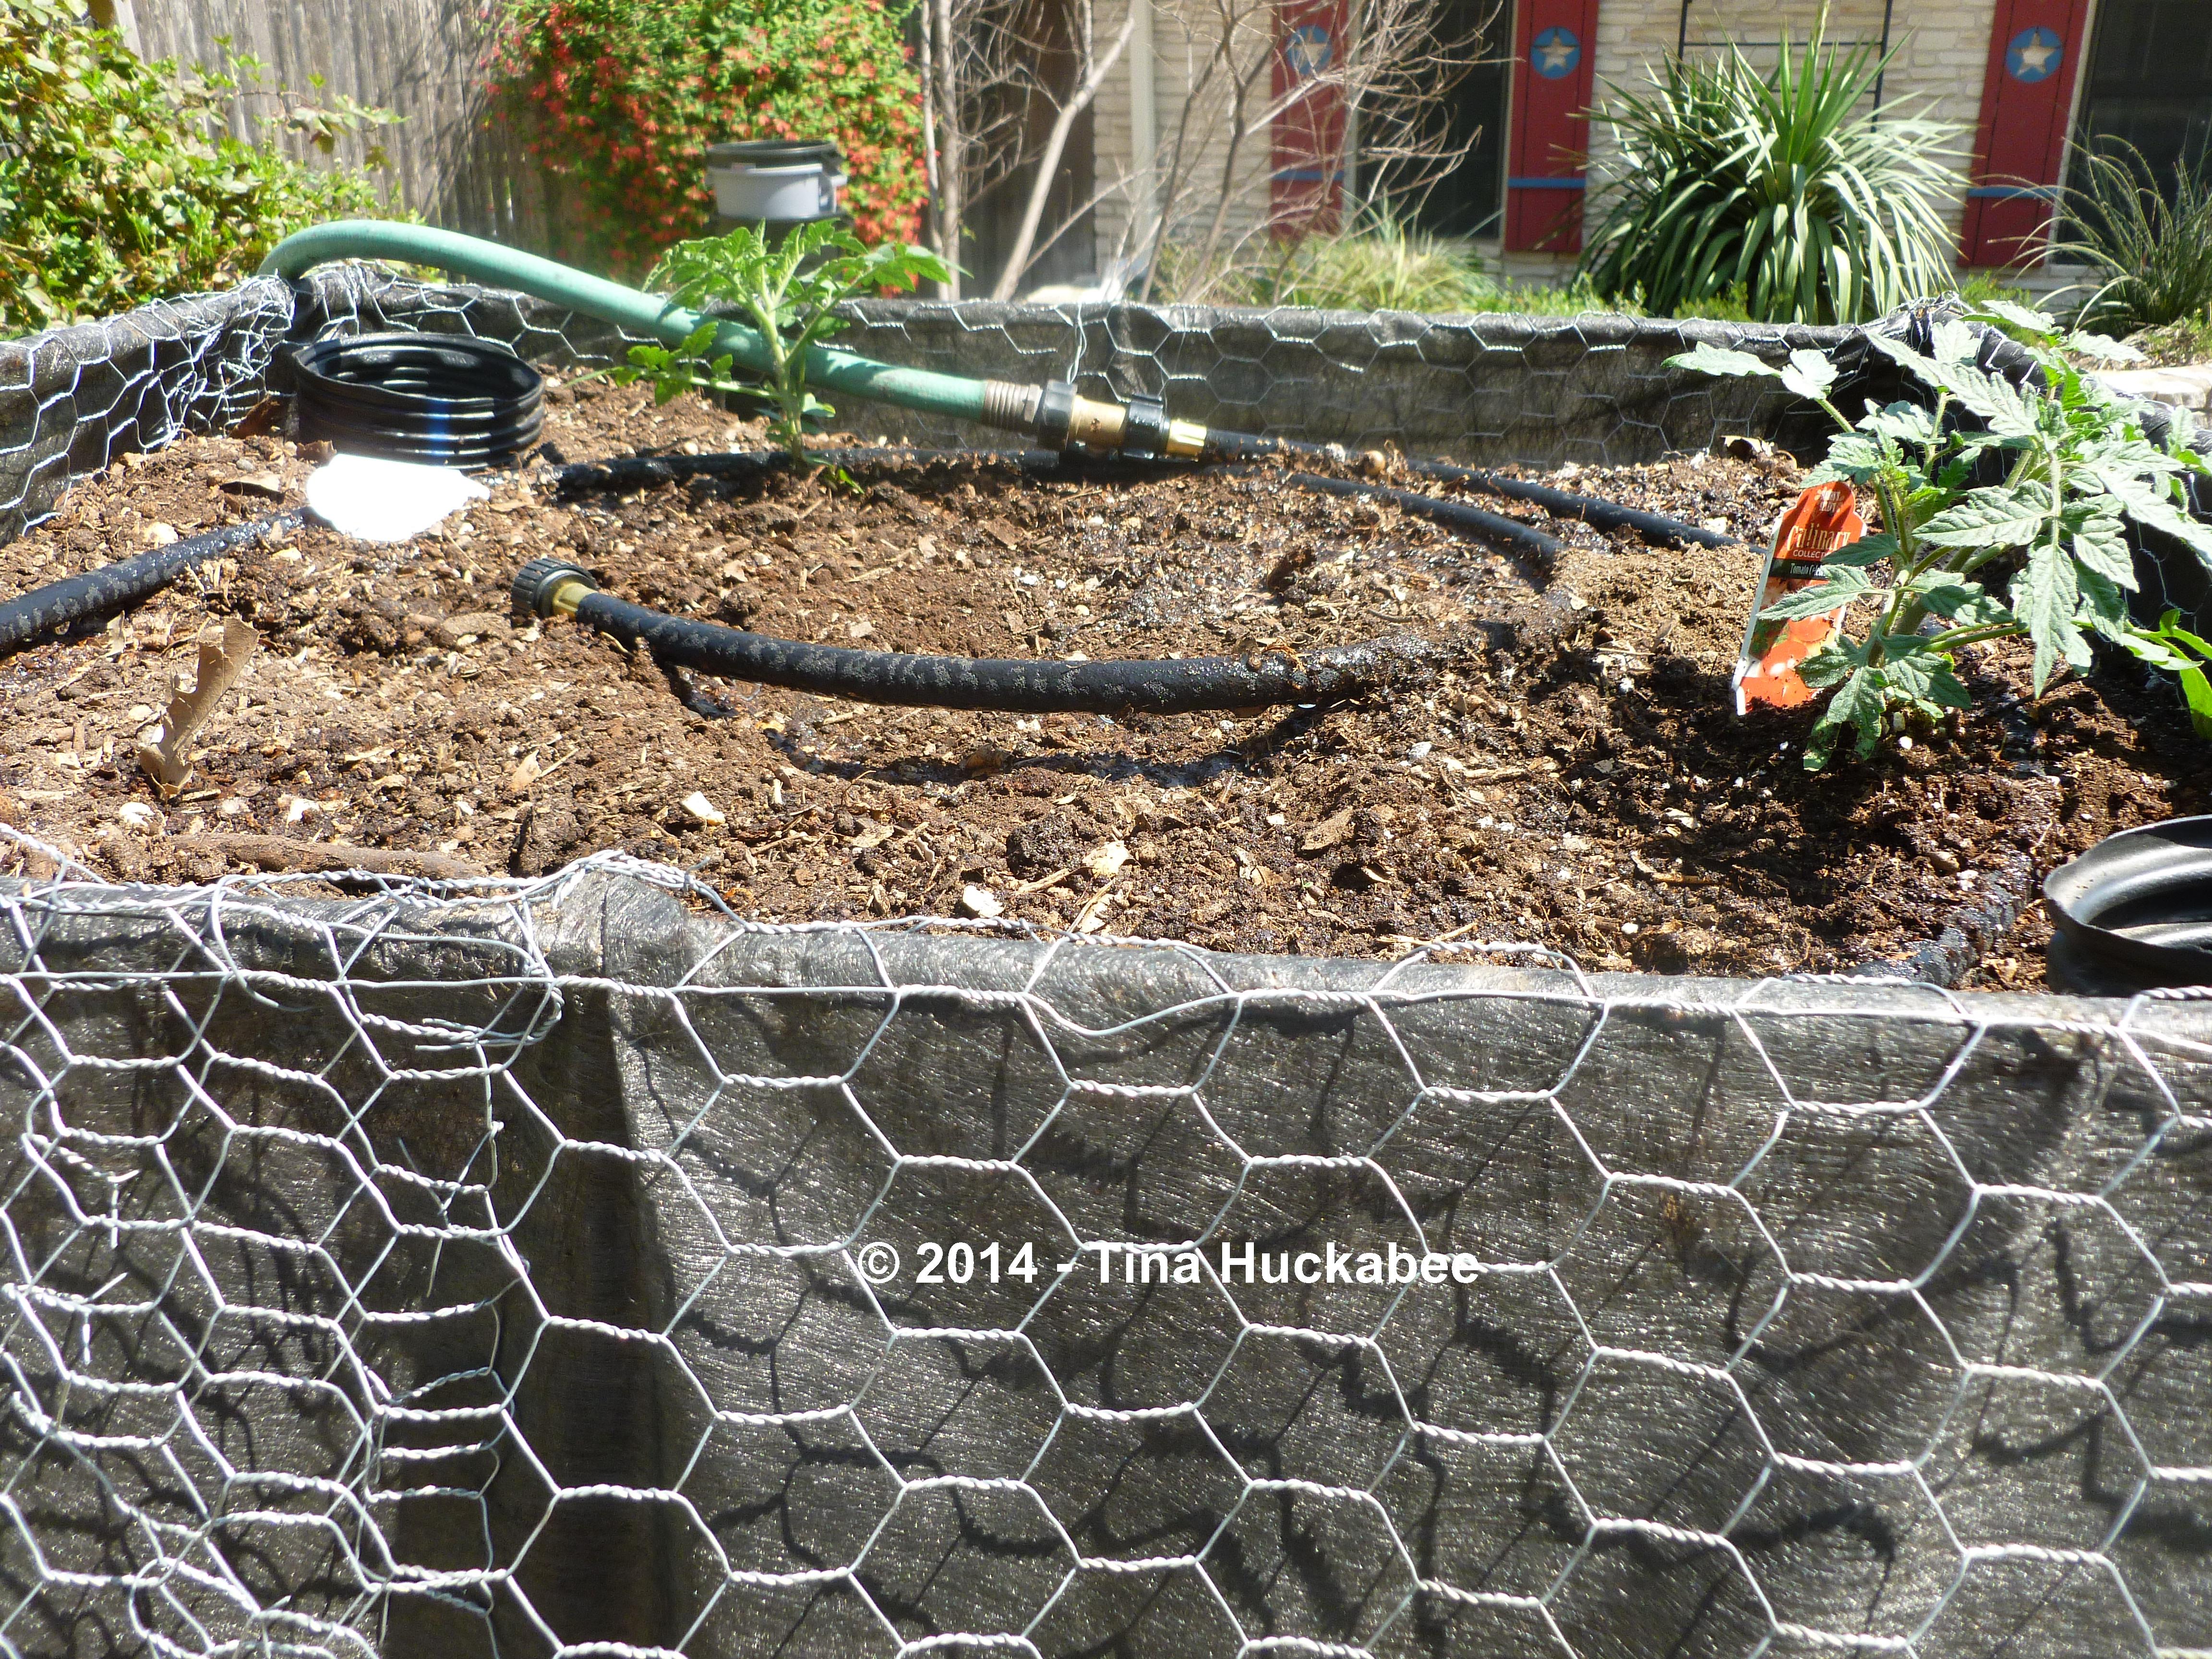
I didn’t have enough of my own soil and compost to completely fill the G.T., so I purchased Hill Country Garden Mix from The Natural Gardener. We shoveled in 1 cubic yard of soil mixture in the tower, but as the soil settles, will probably need more. I’ll add my own compost to the top, as needed. As we added soil, I placed a 10 foot soaker hose roughly in the middle of the tower, then added more soil, filling to the top of the tower. Once done, I cut through the fabric and wire so that I can attach a hose to the soaker for watering,

and placed another 10 foot soaker hose at the top of the tower.
Planting on the top of the tower is obvious.

To plant along the side, the first step is to cut through the chicken wire with very sharp scissors or better yet, wire cutters.

Pull the wire away, then slice through the landscape fabric. I’ve learned that it’s best to make the cut at what will be the bottom of the opening, to minimize soil escaping.

I remove some soil, then plant a four-inch sized veggie. I haven’t found it necessary to tie together the wire to keep the plants in place as the OSU video suggests, though it’s a good idea.

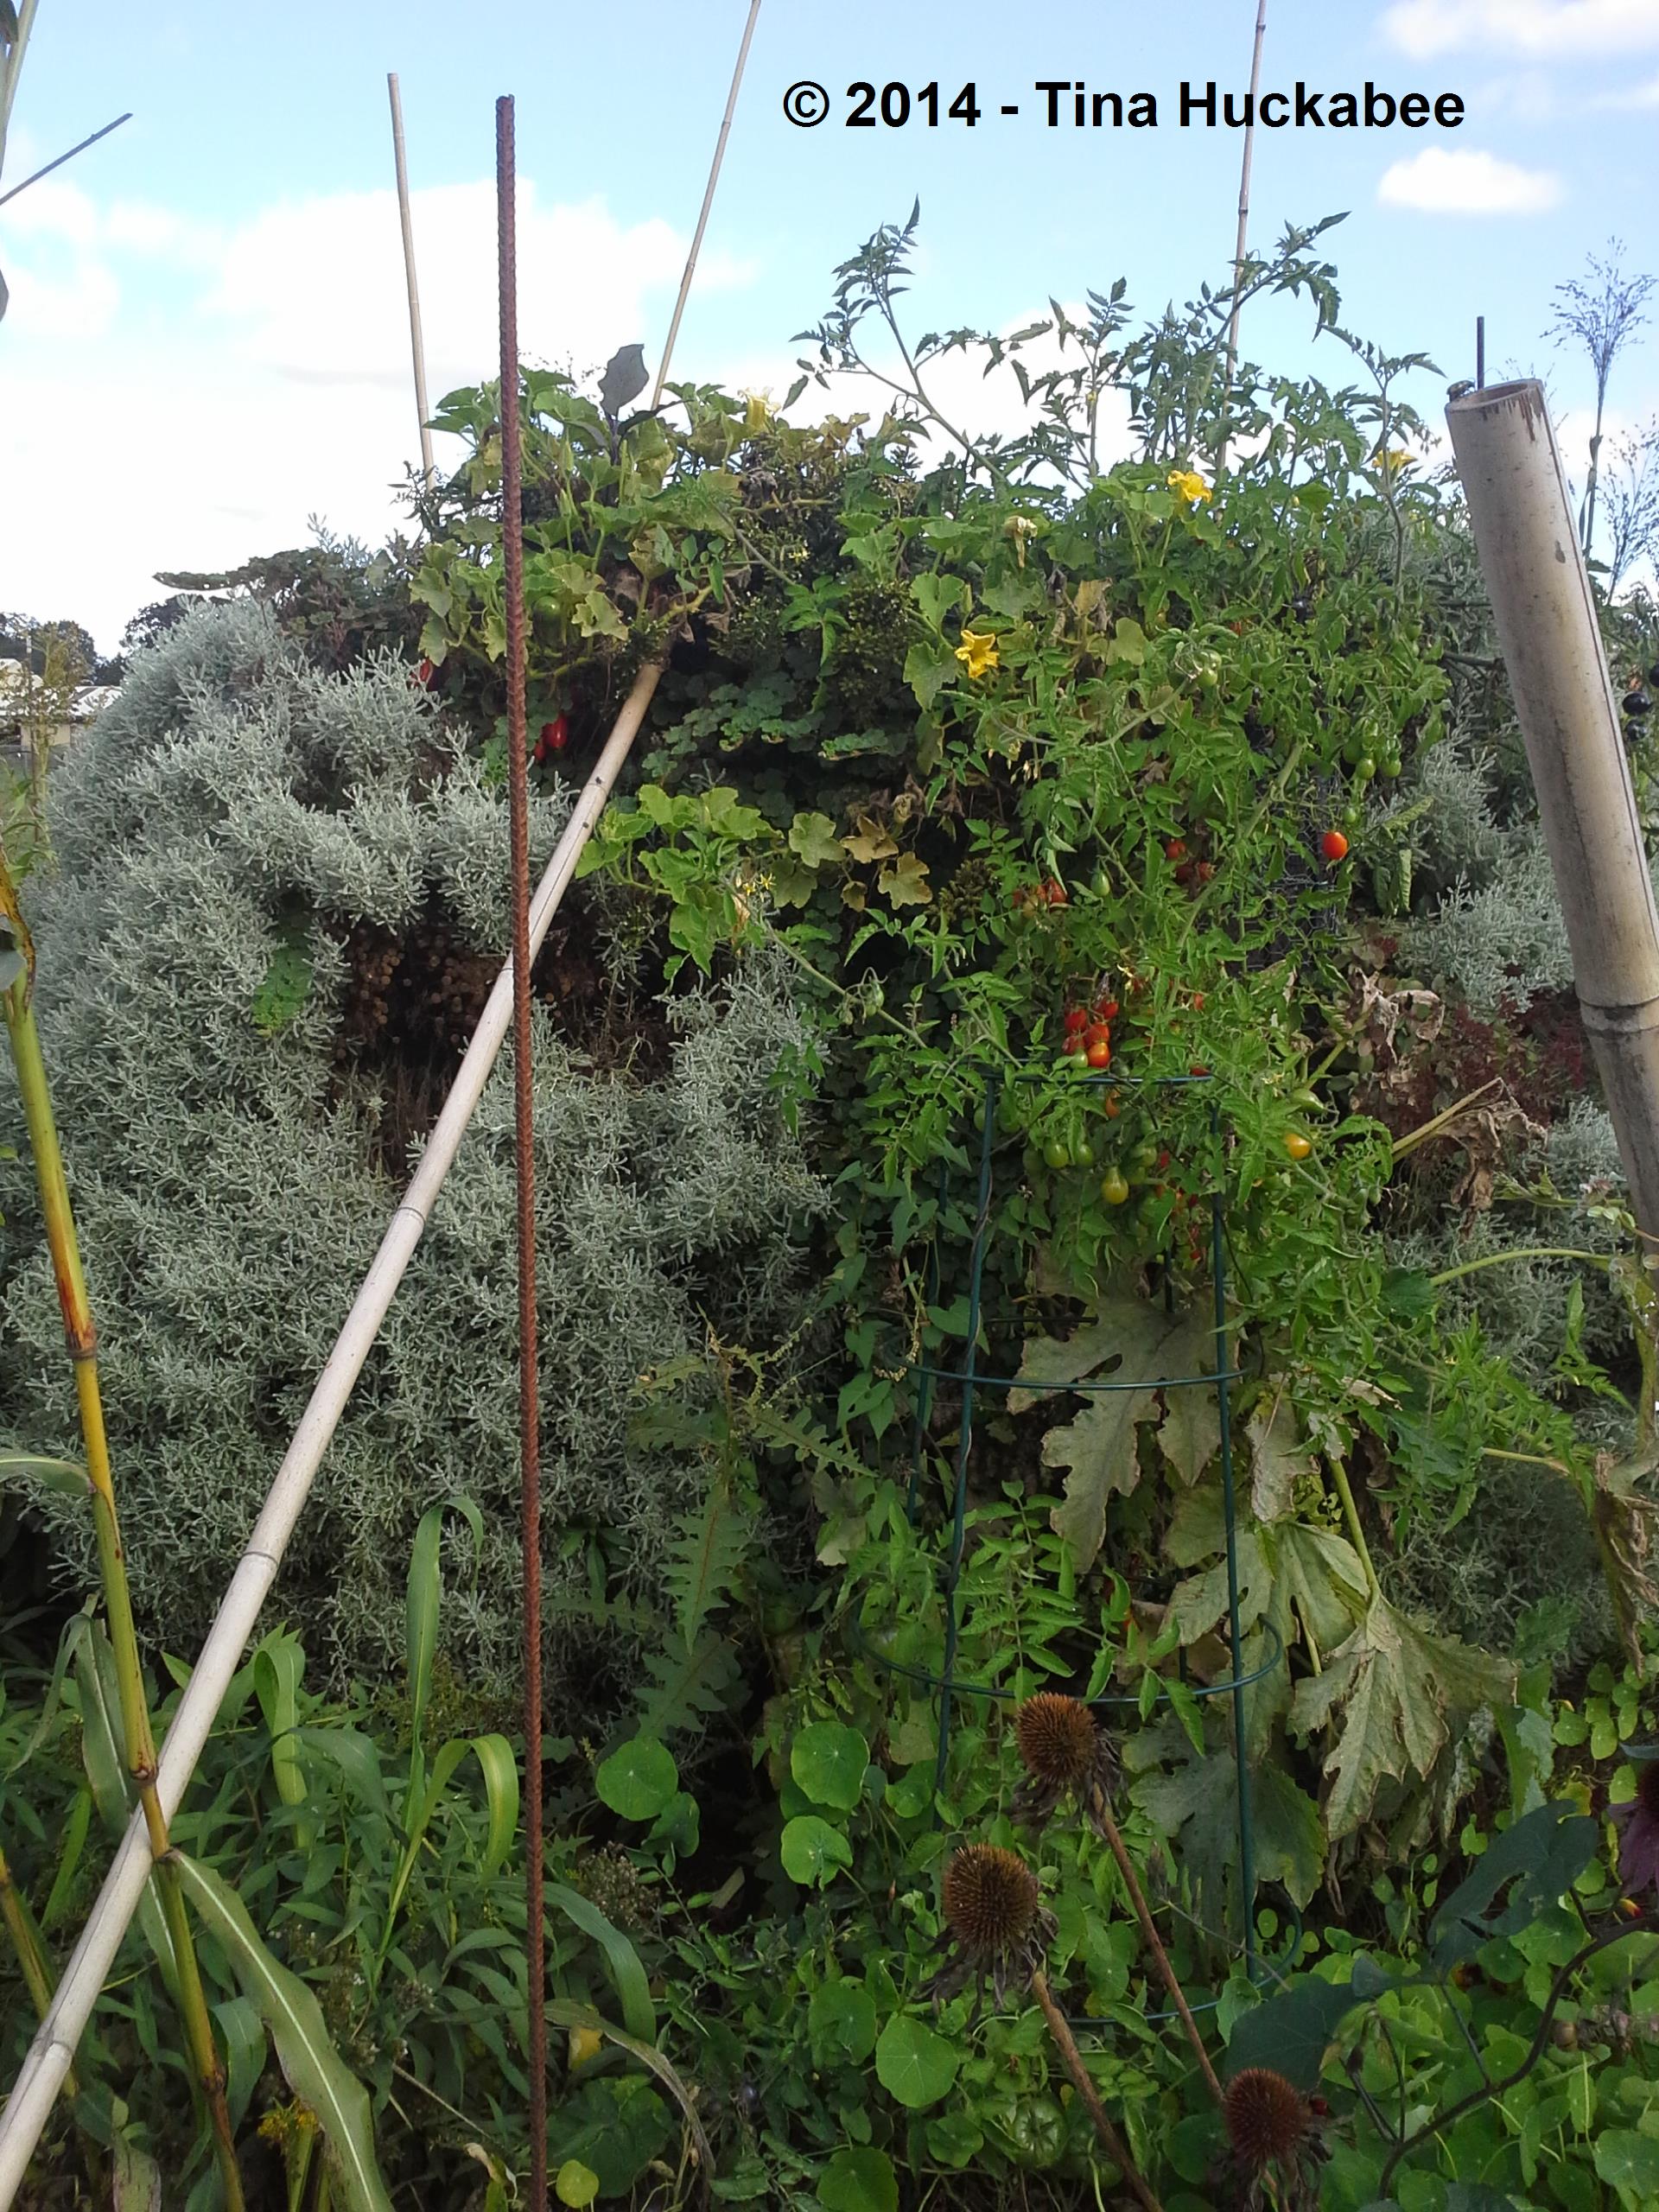
I deposit excess soil on the top of the G.T when I plant along the sides. There has been some leakage of soil, especially in those first couple of weeks, but not as much as I expected. I planted the usual spring/summer veggies: tomatoes, peppers, zucchini, yellow squash, cucumber, basil, mint and cantaloupe. I planted green beans on the top and they’ve germinated on schedule. I planted some of the beans along the sides, but none of those germinated. I think one valuable use of the G. T. will be for seed germination at its top, then transplanting developing seedlings along the sides.
Watering is tricky because some parts of the soil in the tower don’t receive enough water, though most of the plants haven’t had any issues with drying out. I suspect gaps in the soil are the culprit and once the G.T. soil settles, irrigation will be even. I’ve only watered three times since planting in late March. Since then, we’ve received enough rainfall to water the tower thoroughly. I used the aeration tube for the last soaking and it worked well, though there is water leakage from the bottom of the tower–that’s a problem I’d like to correct as don’t like wasting water. Watering slowly should help and we’re considering placing a tube with holes straight down the middle if irrigation problems continue into summer. I want to get through one vegetable growing season before adding that and any more soil.


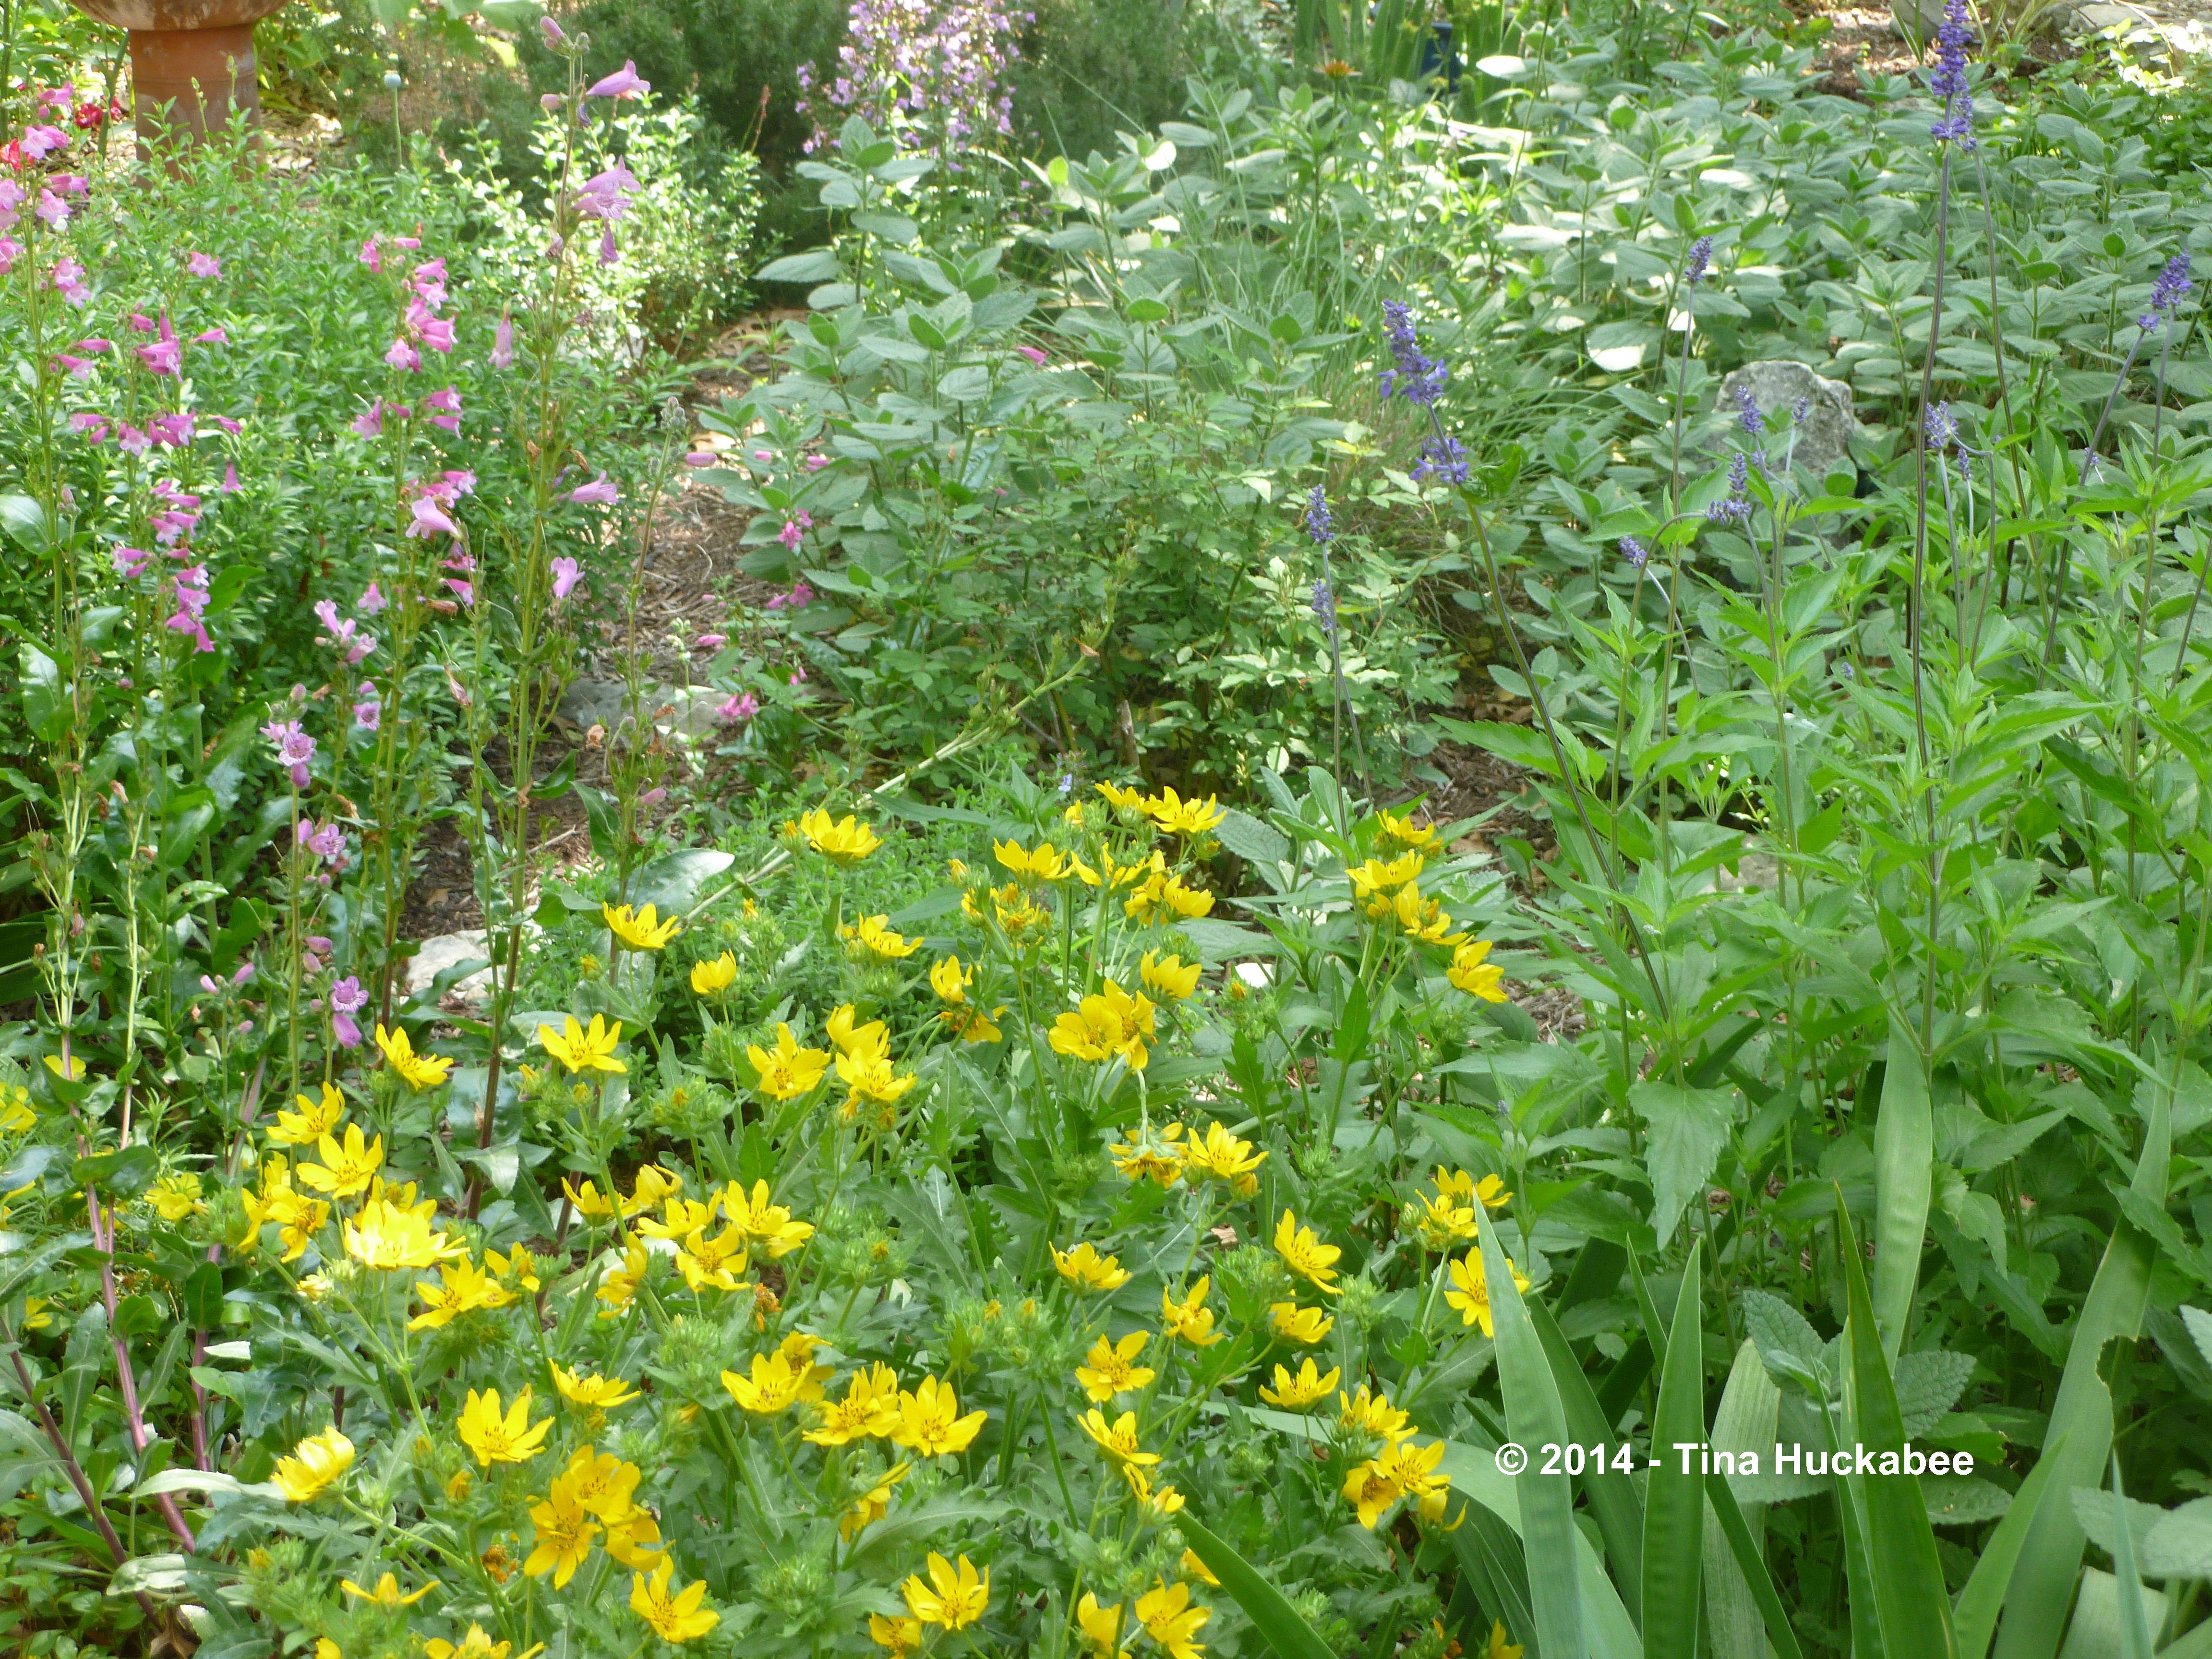
My Green Tower doesn’t look like OSU’s Green Tower. This is Texas, not Oregon and contrary to popular belief, not everything is bigger and better in Texas. (Believe me, as a Texan, it hurts to say that.) Currently I don’t have much planted, though what I’ve planted doesn’t take up as much square footage in the tower as it would in a traditional ground garden. I could definitely plant more. I haven’t utilized the sides as expected in vertical gardening either, which defeats the purpose, of course. I probably will add some zinnias or other drought tolerant annuals to pretty up the G. T. as we move into summer.
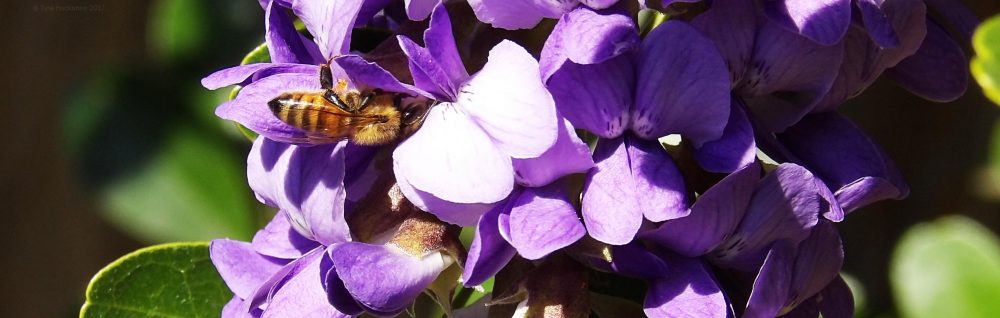
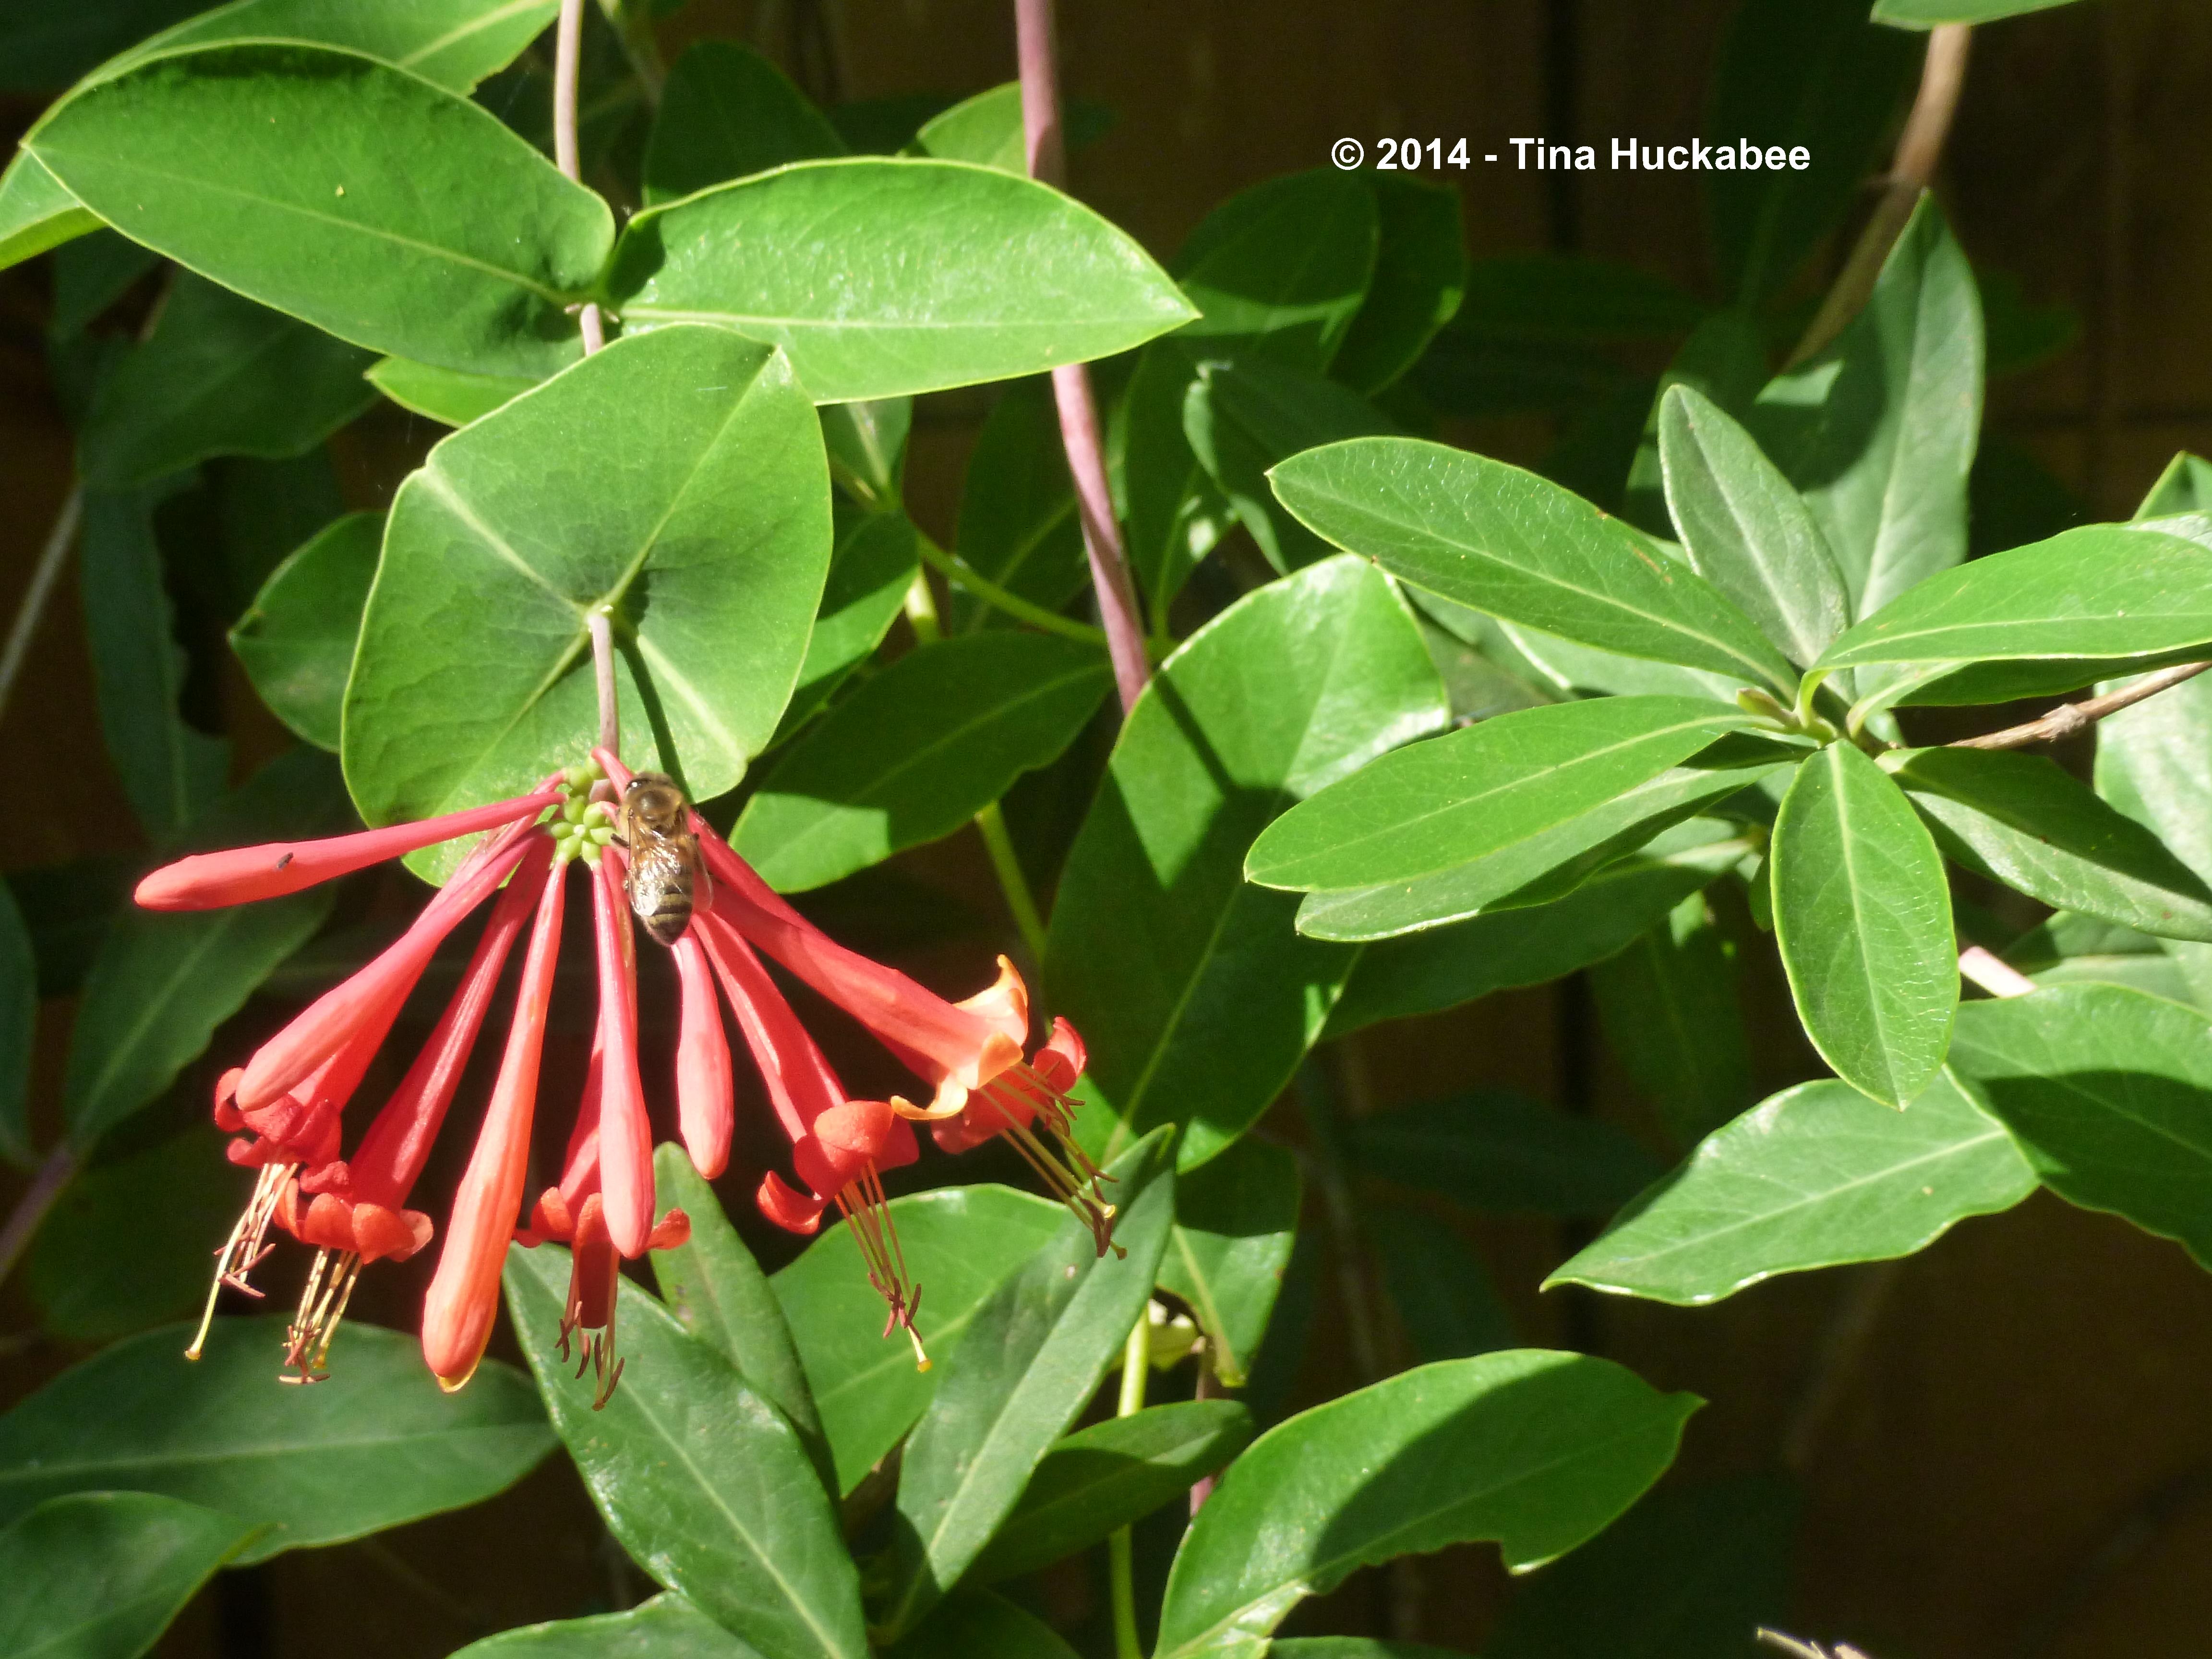
Yeah, flowers. I can’t get away from that it seems.
Weeding isn’t an issue and I’m pleased that as the soil is settling, I’m not watering, though that will change with summer heat and drought. I think the G. T. will be especially valuable to me in the fall and winter, since the cool season plants can be started at the top by seed, then transplanted throughout the tower.
Not including the $18 I’ve spent on plants, The Green Tower cost about $400– including materials and soil and hiring the welder and a handyman to help move the soil. I felt like that was pricy for an experiment (and it might be, time will tell), until a neighbor told me that she’d paid her lawn company $800 last month for winter clean up and first spring mowing. Wow!! Are lawn services that expensive? (I suspect that cost was an outlier, but I know people who pay $50-100 a month for lawn service.)
Get rid of your lawns! Plant perennials and natives and vegetables–in vertical gardens or otherwise.

More adventures to come as The Green Tower grows!