The hand crank is at the right of the drum (in the photo), near the top. Before we started, I was skeptical that hand-cranking would be enough to sling and fling the gooey glory from its framed cells, but it proved just fine.
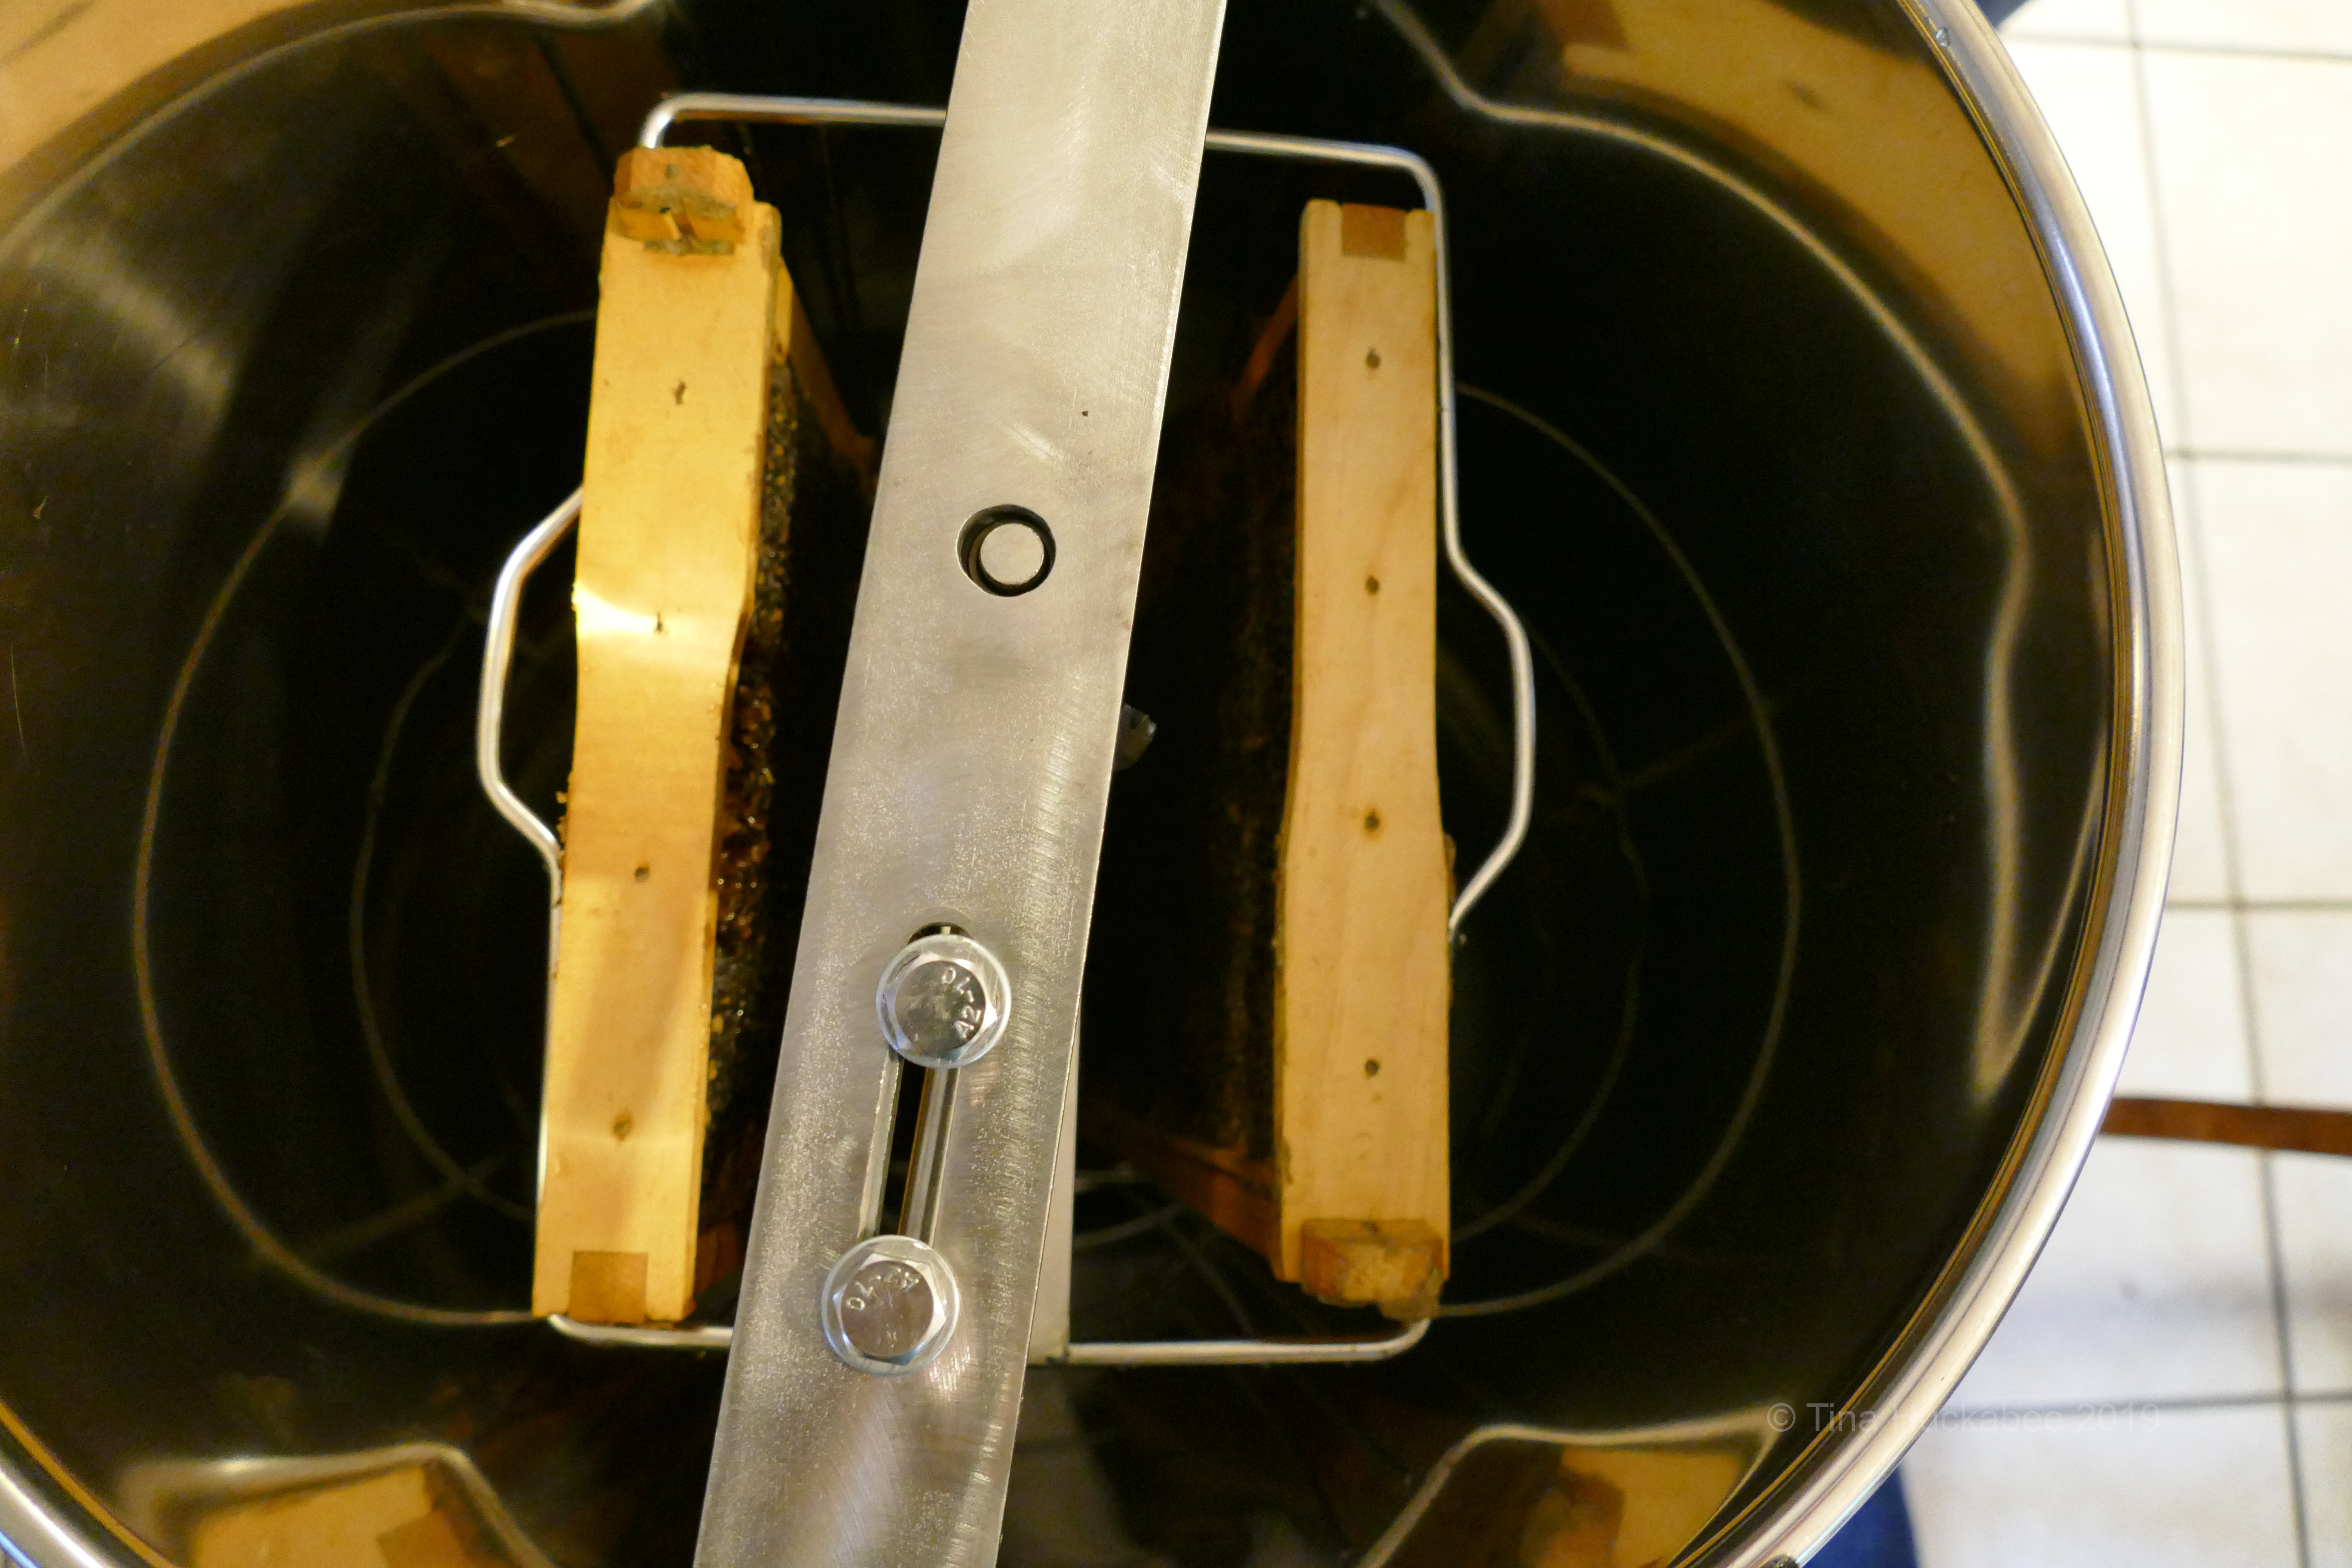
A look inside the contraption shows that the drum holds the basket which holds the frames. The hand crank is attached to the main bar, so that when it moves, the whole basket pivots on a vertical pole which spans the height of the extractor drum.

An up-close shot demonstrates the thing of beauty that is a full frame of honeycomb. 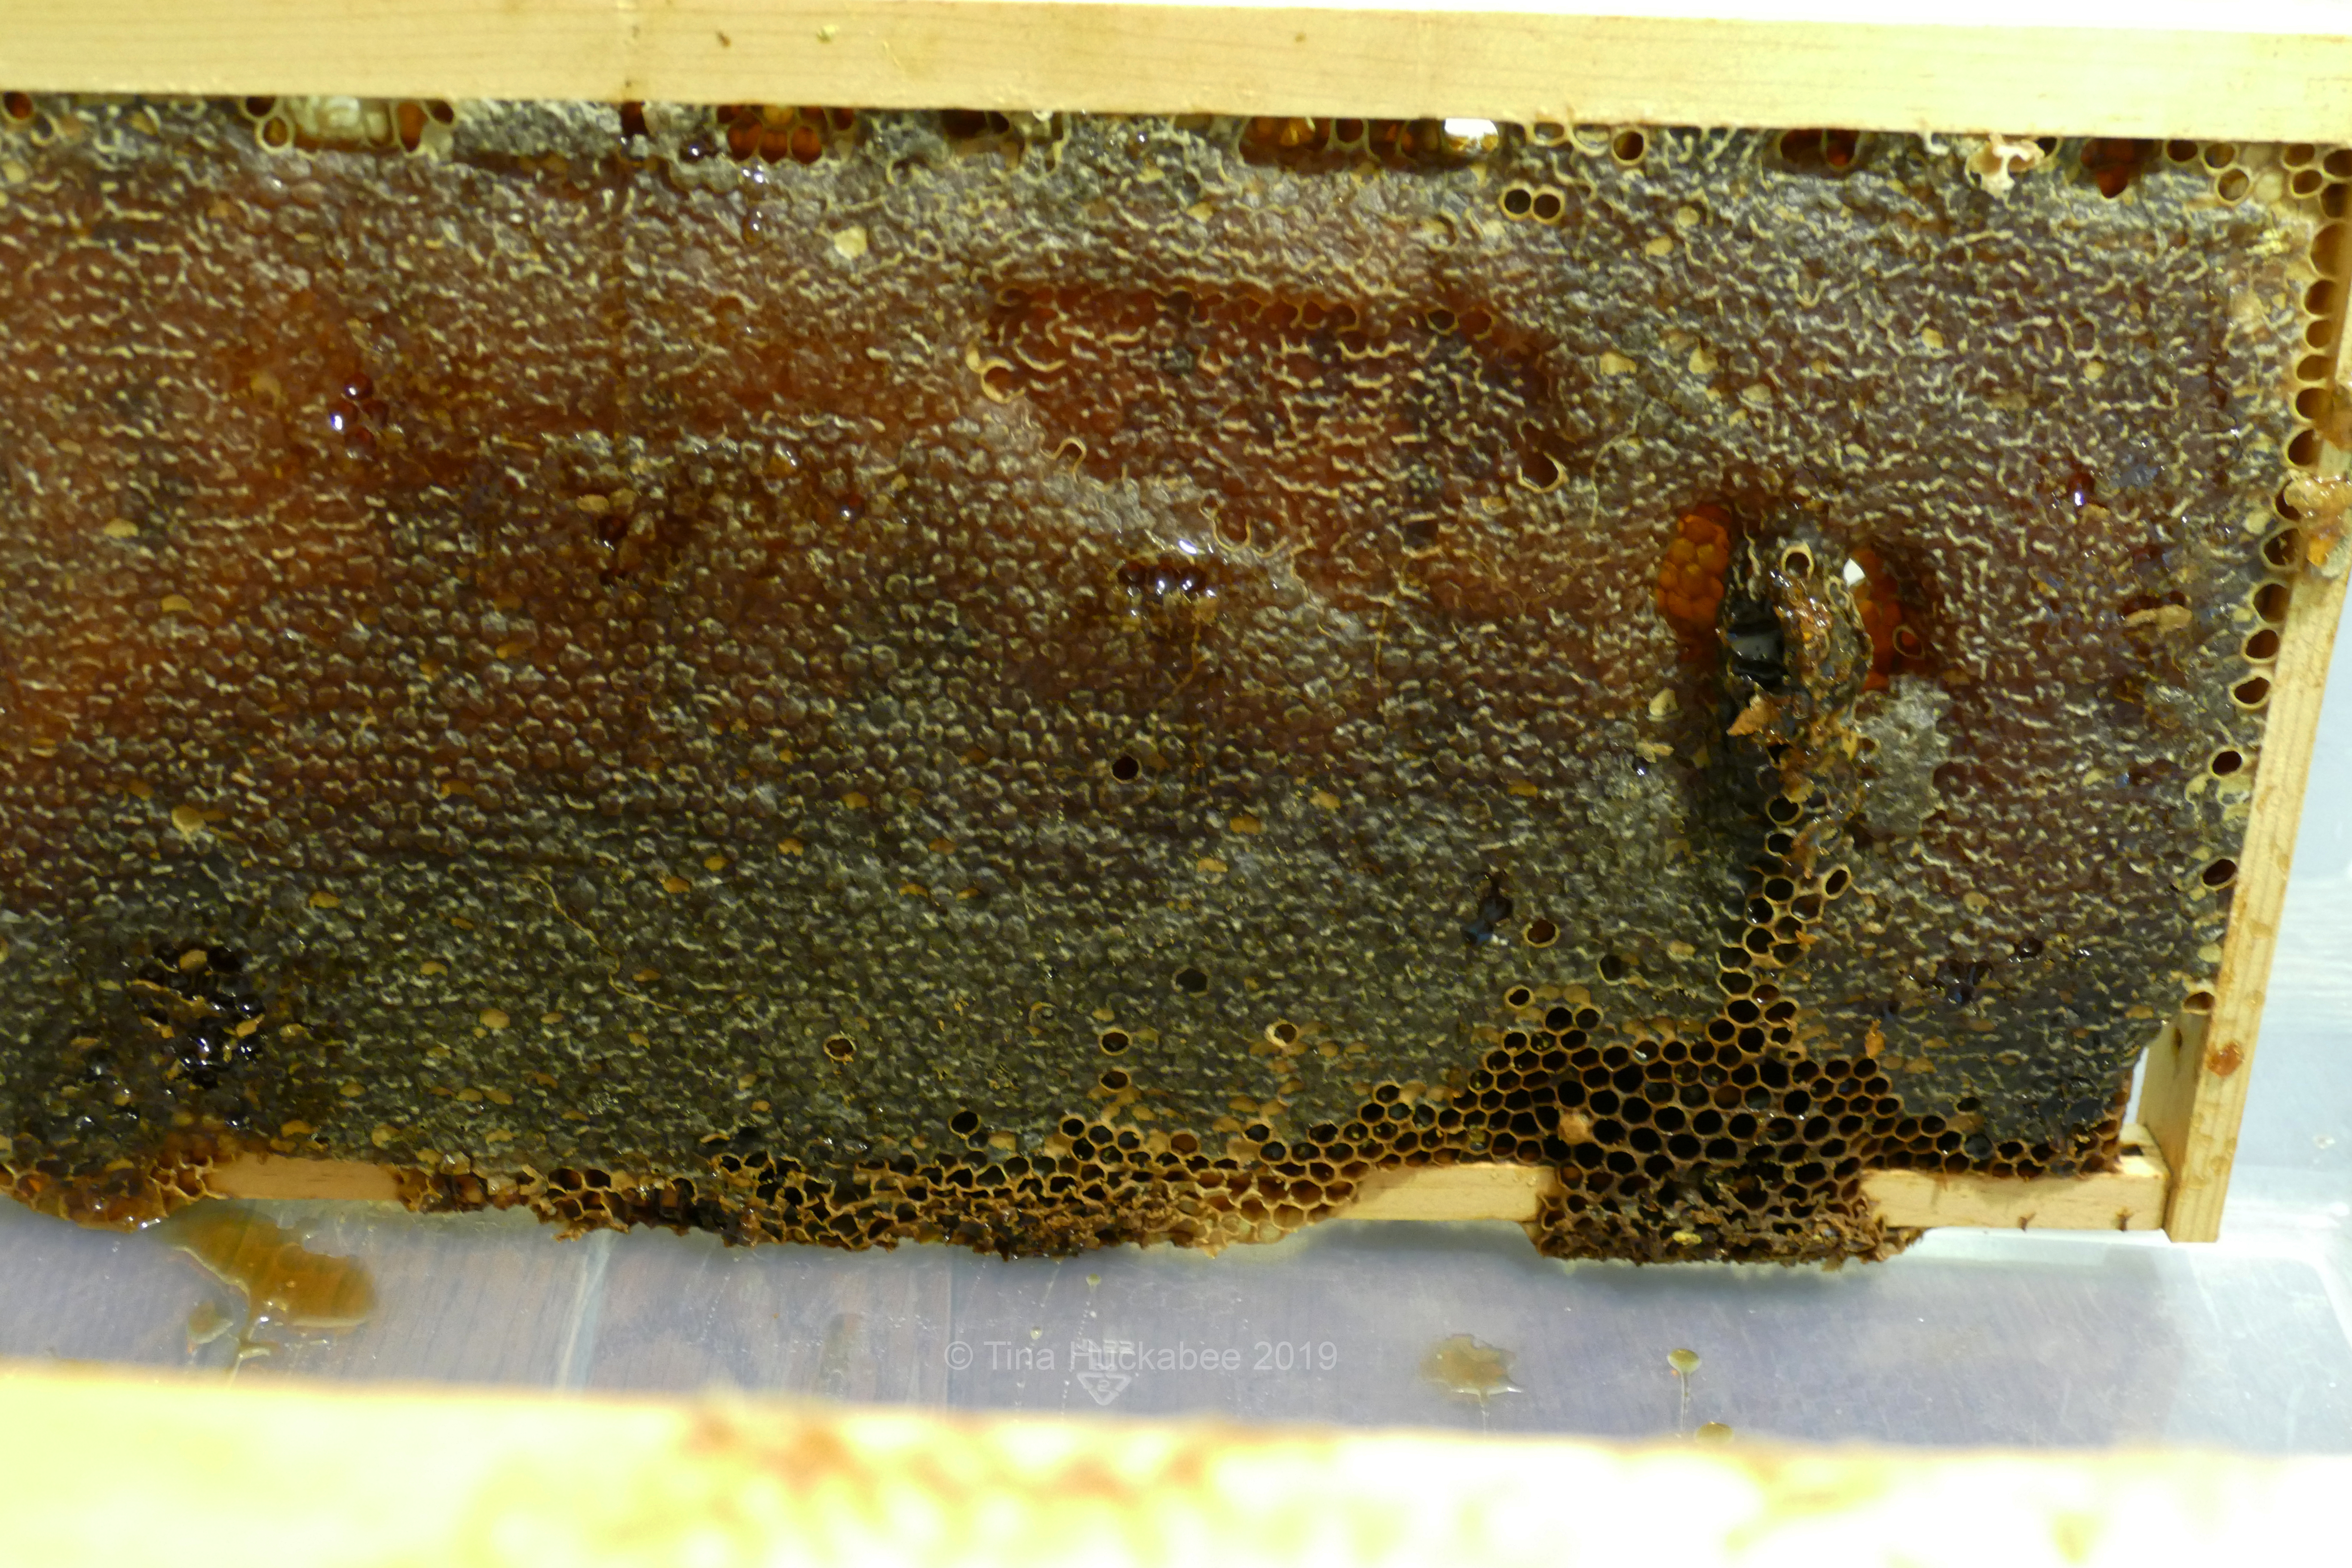
Near the bottom the frame, you can see that the bees didn’t cap whatever honey was placed there, but that’s not unusual. As well, the the wax covering the honey cells isn’t necessarily completely smooth–there are undulations and indentations because the frames sit in close proximity with one another in the hive and the close-knit honeycombs are impacted by their neighbors. The honey captured and capped on frames isn’t always perfectly smooth or uniform.
We popped Buzz’s two frames in their respective slots for the big twirl. These frames are brood frames and are 18 inches long, 9 inches wide. Brood frames are–you guessed it–for brood! However, a brood frame will have not only brood, but some honey, as well as cells with pollen stores. As you now see, there was no brood because Buzz was honey bound and there were no honey-free cells (in sufficient numbers) in which the queen could lay eggs. That’s why we took these frames and added new ones; the queen needs plenty of free comb cells for her many multiples of eggs and when the bees make honey in the majority of cells (because that’s what bees do), sometimes a hive runs out of room. Swarms happen and even the densest of beekeepers finally figure out that the bees need fresh frames. Duh.
Other frames, called dadants, are narrower than the brood frames and are only for honey. In both of our hives, they are the top two boxes. Theoretically, those are the frames we’ll most likely take in the future, but for this first time, it’s the two brood frames that needed replacing and are our honey extractor guinea pigs.
Happy Halloween! Be wary of the Bee Daddy with an uncapping knife!

The uncapping knife is a necessary tool for stripping the top layer of wax which seals the cells where honey is stored. Ours is electric which, when plugged in, heats the knife. And thank goodness for that–a hot knife makes the job of uncapping the wax much easier than if we used a cold knife. The edge of the knife isn’t particularly sharp and drawing the knife downwards through that layer of wax requires steadiness in order to break through the wax.

I especially like this shot because the wax curls perfectly as Bee Daddy brings the knife downward.
With a firm hand, Bee Daddy and I each took turns drawing the knife downwards, scraping off the very top layer of wax, allowing the wax to fall into the extractor drum. I must say, Bee Daddy has a knack for uncapping. I tended to gouge the wax and I wasn’t steady in my strokes. I also burned my hand a couple of times. Ouch! And next time, I’ll pony-tail my shoulder-length hair before extraction. Because…honey.
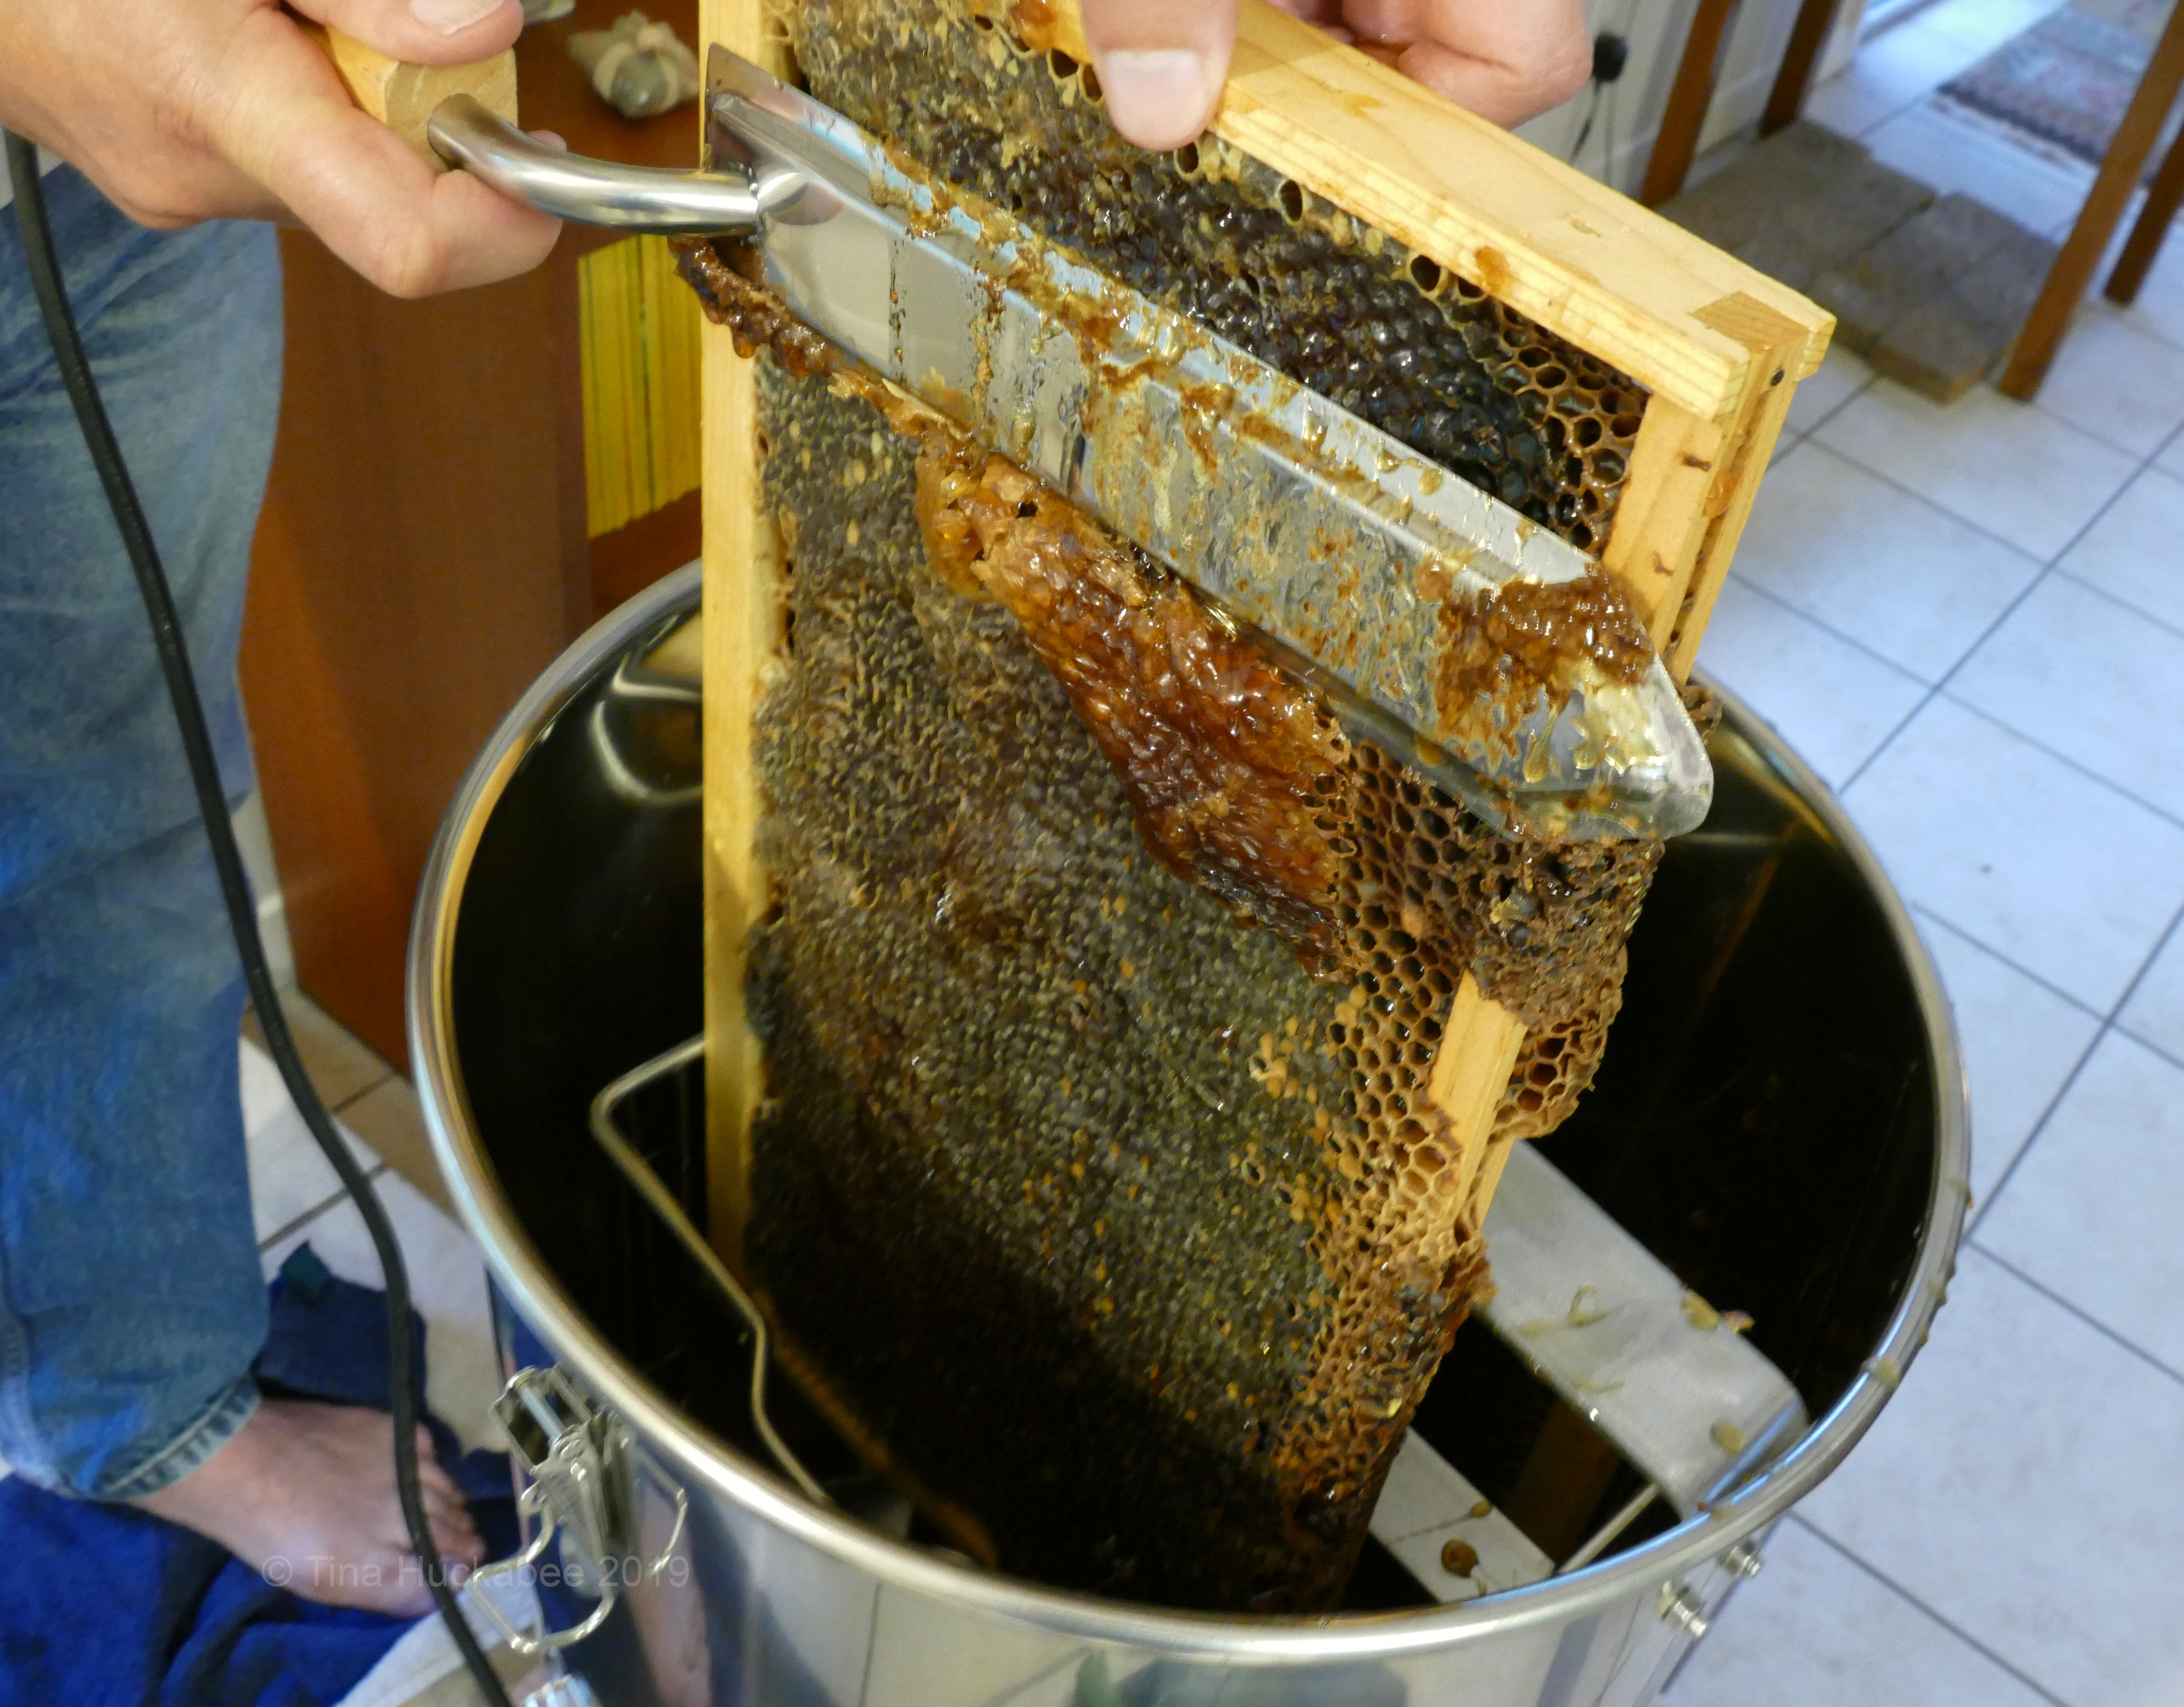
Notice in this photo that at the top of the frame, the wax that has been scraped from the cells and the honey which is exposed sits in those cells, shiny and ready for dripping. Below the knife, the wax still covers the honey cells and is not shiny, but dull. The honey there isn’t yet free to ooze.

Once we’d uncapped all there was to uncap, it was time to twirl and swirl.
Round and round and round he goes! Bee Daddy turns the extractor handle for several minutes, occasionally peeking into the drum to check on the spew of honey out of the frames. Centrifugal force is the power that flings and slings the honey to the side and bottom of the drum.

After only 3 – 5 minutes of turning, we decided that most of the honey was out of the frames and into the bottom of the drum.
Here sit the frames, sans honey.

Even with extraction, there’s still honey remaining on the equipment. It’s impossible to get all of the honey off of whatever equipment is used–no way, no how! I’m not meticulous about scrapping every bit of honey and always leave plenty for the bees; they’re efficient honey cleaners and they’re quite determined to finish the work. I placed the extractor drum outside by the hives once the bulk of honey was out of the drum, through the strainers, and into the bowl.

It was a nice set-up for the bees and they worked for the rest of the day cleaning up that bit of honey impossible for us to get. My other choice would be to wash the whole lot, but that’s a waste of perfectly good honey. I think the bees deserve the honey as they’re the work horses in this honey adventure. After the bees slurped the bulk of post extraction honey, I washed the drum and extraneous parts. To see how I’ve washed the bulky extractor previously, check out the post about the extractor’s first bath.

There was very little wax wastage in this extraction process, which is, after all, the point of mechanical extraction. Heretofore, because of Scar’s Warre hive design, we’ve always employed a crush-n-drain method, which destroys the beautiful wax and is messy and time-consuming. Taking honey with an extractor is the bomb! Easy, significantly less effort and mess, the combed frames preserved for future use by the bees, it’s clear why the mechanical extraction method became the process most beekeepers use.

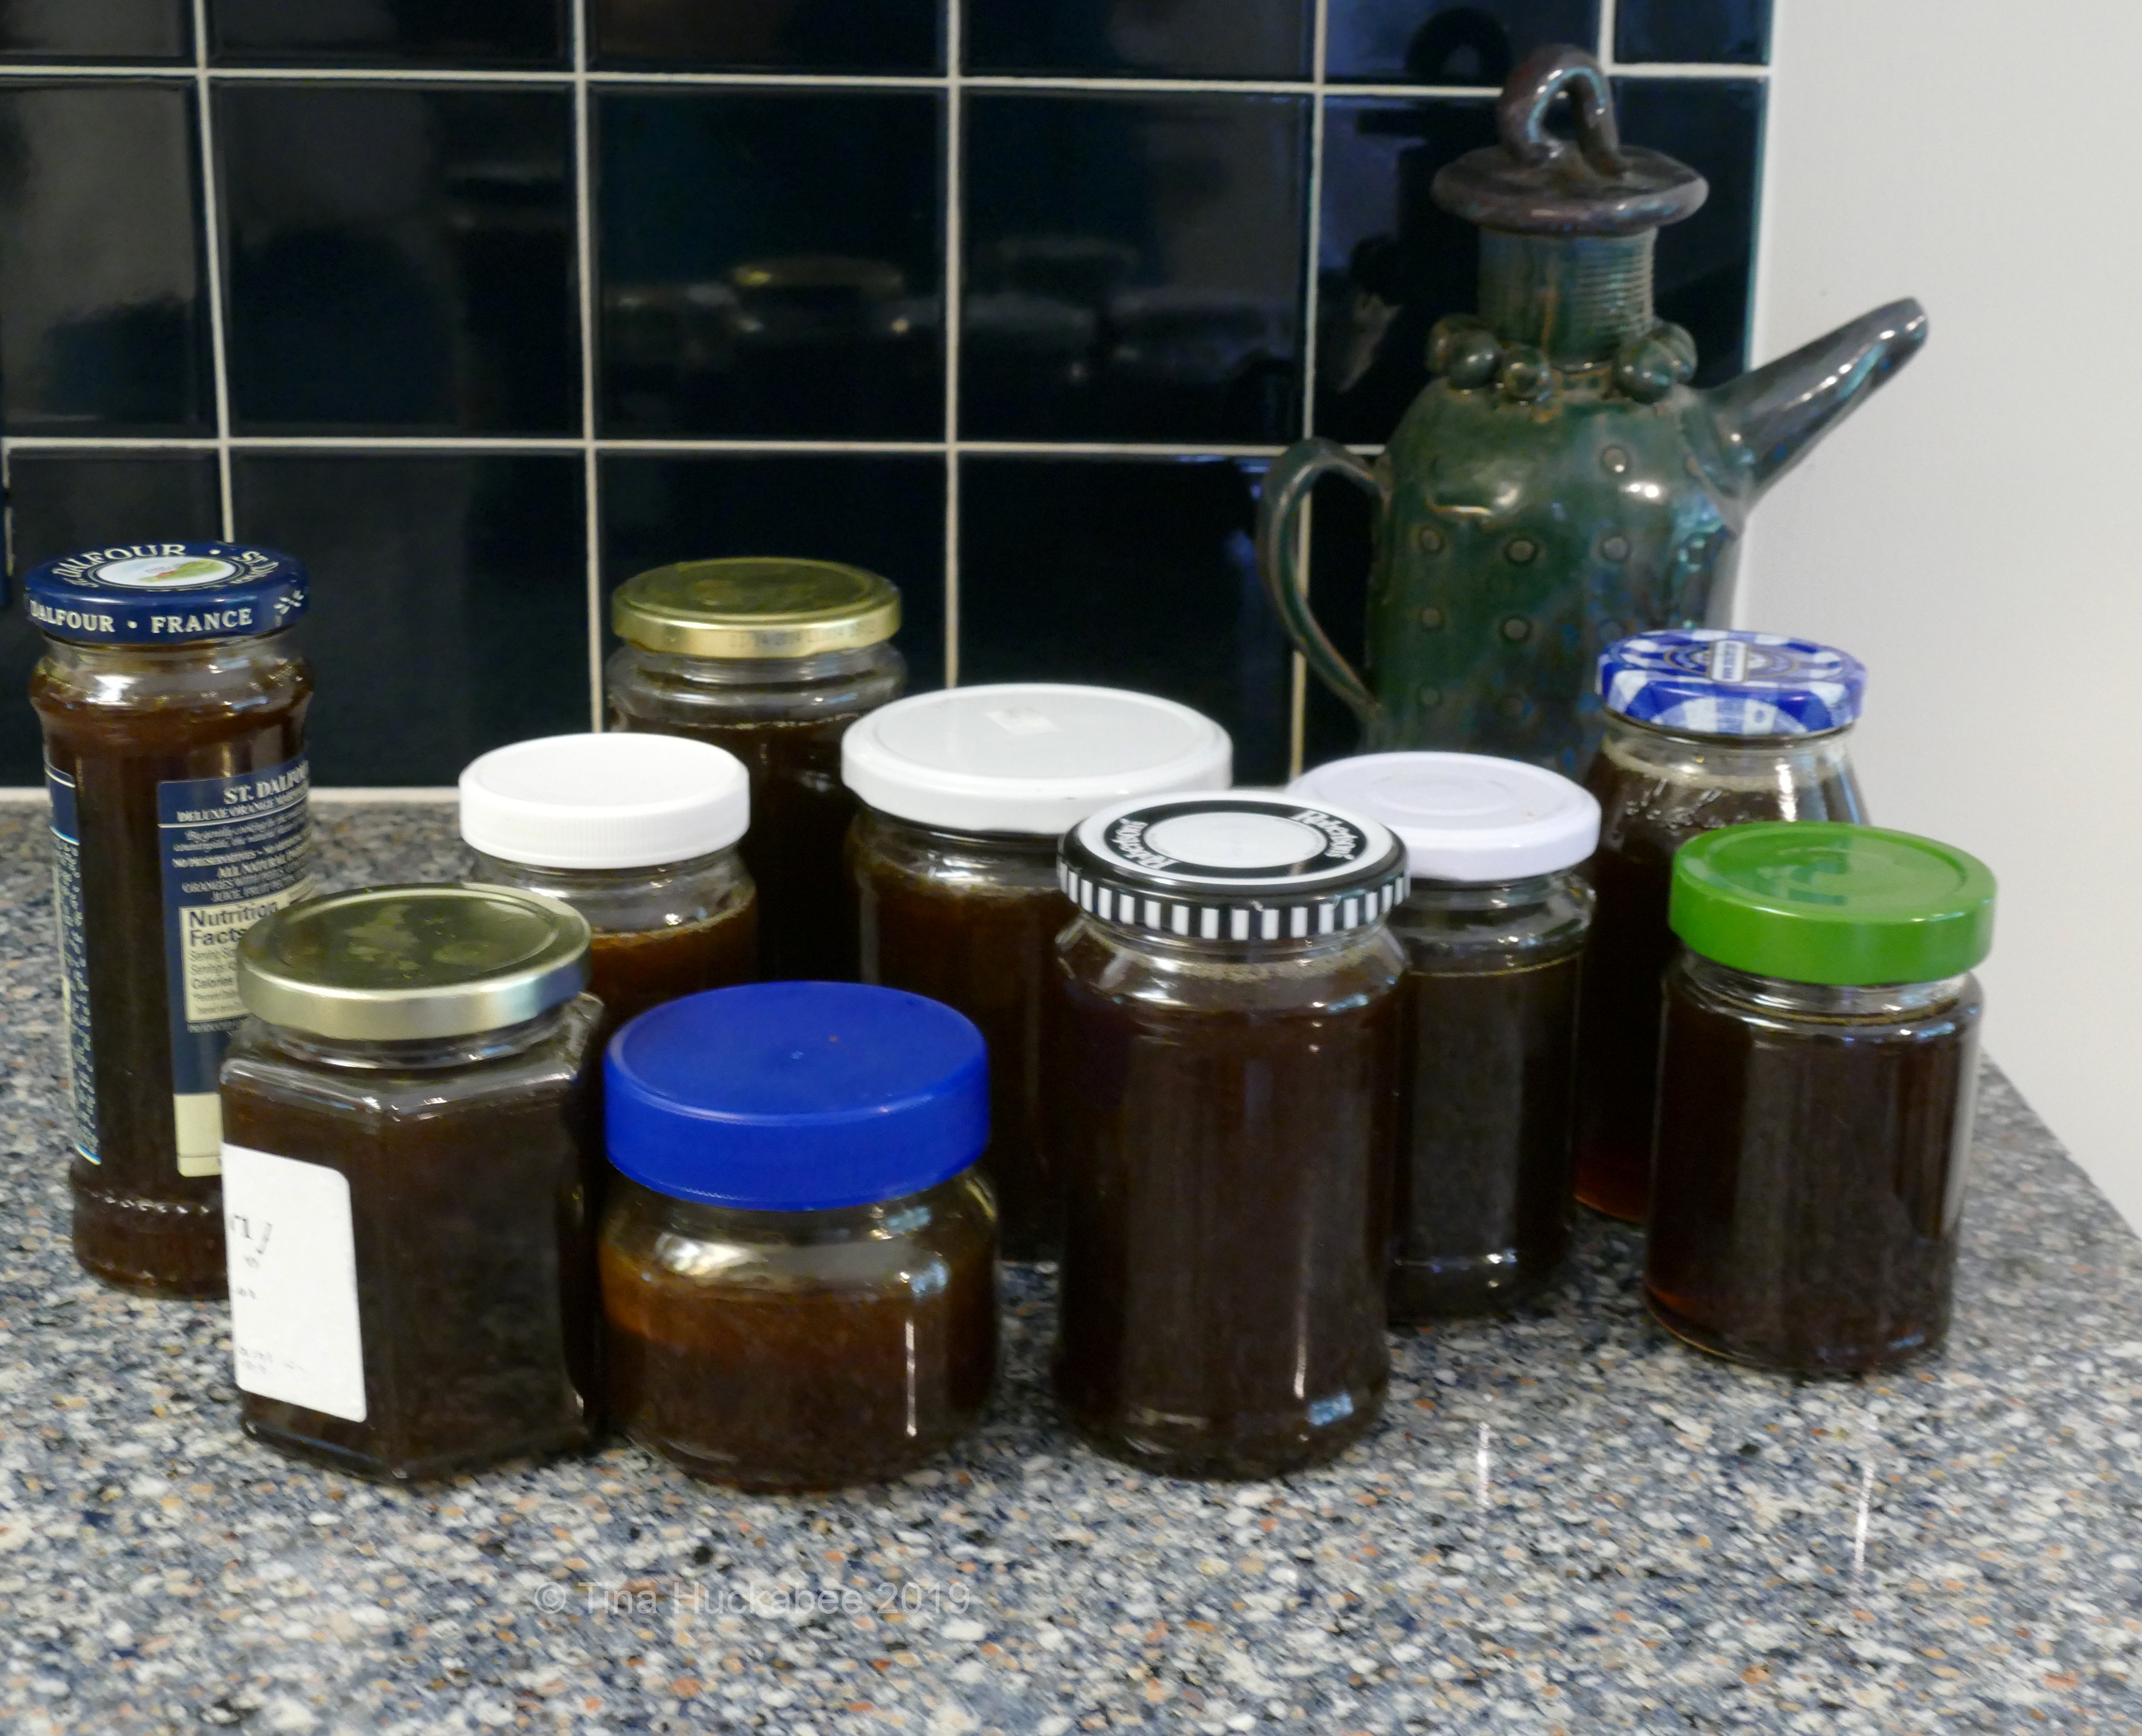
We extracted nearly a gallon from the two frames. Fall honey is always darker, thicker, and richer than our spring honey.
The frame removal check was probably our last hive check for this year. It’s now cool and wet enough that the bees are snuggled in for their autumn/winter respite. We’ll check them sometime in February and I’ll probably feed them at that time, too. Then as the days grow longer and the weather warms, the queens will ramp up their egg laying and our honeybee world will be back in action.